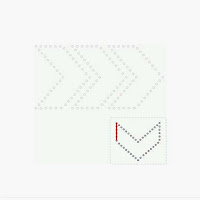
- I chose this sewing template as the basis of my layout.
- Then I used the 'Draw a Polygon' to join all the dots to give me a solid chevron shape.
- I used the 'Internal Offset' option to make a smaller shape.
- Removed the larger chevron and grouped the small one with the sewing template. This formed the basis of my pattern.
- The next step was to duplicate my shape in a column of 3.
- Arrange them the distance apart I wanted and then, under the ALIGN menu, with the three shapes selected, spaced them vertically to give me an equidistant space.
- I then duplicated the three chevrons below.
- Next I moved the duplicated chevrons up match the spacing of the ones above.
- Select the top four chevrons and duplicate right then do the same for the top two of this column. Group each set of chevrons into columns and arrange onto your design. The column of two chevrons is then mirrored below and this set is moved to the bottom right corner of your design.
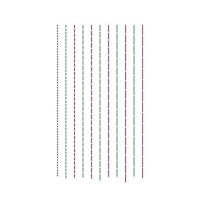
- The next step was to make the stitched square that surrounds my photograph and for that I used this stitching template, using a section of the first one for each of the square's sides.
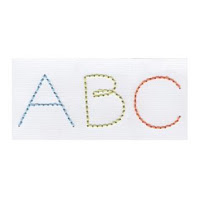
- Then I used a stitching font to add my title.
The final step was to complete the stitching and back fill my chevrons with pretty paper. I added a few stickers and mounted my photo onto a piece of patterned paper and that was my page finished.
I hope I have inspired you to try a stitch template or two.


Oh wow - I didn't realize stitching templates even existed! Thanks so much for sharing this.
ReplyDelete