With the start of a new school year, a whole new group of friends could be on the horizon. What better way to forge friendships than an after-school craft party. This little project will not only keep them busy expressing themselves but also gives you the chance to learn everyone's names, (I can never remember anyone's name but I can remember what they made) here's a fun little bookmark project suitable for all ages.
Select a flag type file from your library (lots of different styles are available from the silhouette store if you do not have one). You will need a flag for each name. Resize each of the names to make it fit nicely inside one of the flags.
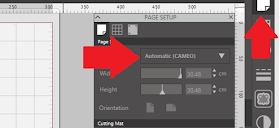
 Arrange the flags and names to make the best use of your media. I am using silhouette chipboard as its sturdy but not too bulky to place inside a book.(ensure your page settings match the size of your media).
Select some designs from your library or the store to use as embellishments. Resize the designs so they will fit onto the flags. This is done by clicking on one of the boxes in the corner of the design and dragging it inward.
Arrange the embellishments to make the best use of the media.use the rotate button located in the transform panel to rotate you pieces where necessary.
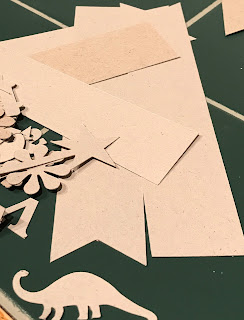
Send the project to your silhouette from the material menu select chipboard and carry out a test cut, adjust the settings if necessary. Click send to cut your project.
 Give each child a flag and place all the letters and embellishments in the center of the table with some markers and/or paint, perhaps put out some glitter and gems.
Let the children's creativity flow.
For younger children, this project also works well if the letters and embellishments are cut from silhouette self-adhesive card weed the unwanted card away leaving only the "stickers"
Designs used:
File: flags
Artist: Silhouette
File: brontosaurus dinosaur set.studio
Artist: Studio Ilustrado
File: car.gst
Artist: Silhouette
File: Heart.gst
Artist: Silhouette
File:flower
Artist: Silhouette
 |  |  |  |


No comments:
Post a Comment