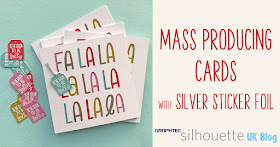
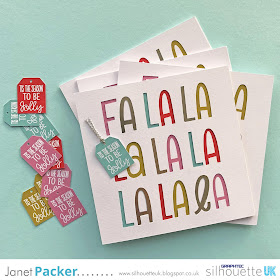
Hello, Janet here again from the Crafting Quine Blog. Every year I make one or two card designs in multiples, and this year I've picked a lovely contemporary card design by Kristen Magee; the
Fa La La Christmas Card (
#234355). As I wanted to mass produce this card I knew that I'd have to simplify it and to add some quick additional shine I also incorporated some of the Silhouette Sticker Foil.
I thought I'd take you through the process of how this card evolved to the point at which I felt I'd made it as easy enough to make in quantity. To do this I reduced the number of layers, and brought in the Print & Cut technique as well as adding some fast and easy extra shine with the foil sticker paper.
What You'll Need
Silhouette Silver Printable Sticker Foil
Medium-weight White Textured Cardstock
Square Card Blanks
Liquid Craft Adhesive
Silver Cord
Silhouette CAMEO® 3
Silhouette 12" x 12" Cutting Mat
A3+ Printer (if printing on 12"x12", otherwise an A4 Printer)
The original design has seven layers plus a card base, one layer of card for each colour. It is a lovely card (you can watch the designer put it together, the video
link is in the product description), but there are lots of layers to assemble and to post.
STEP 1: Squaring Up for Blanks
I deleted all but the top layer and made it fit a square of the same size as my card blanks (they are 122 mm square). I could cut four of these from a piece of 12" square cardstock.
STEP 2: Losing the Layers
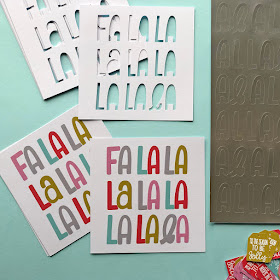
With a copy of the above cut file I made an offset of the letters and filled each letter using the
colour picking technique.
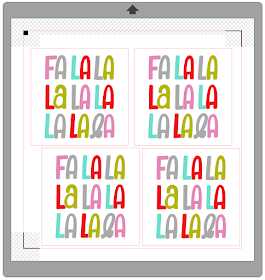
STEP 3: Making the Print & Cut
I then arranged four copies as a Print & Cut on 12" square textured cardstock (I like to print on the non-textured side). You'll need a large format printer to print these on the 12" cardstock. They can be printed with two to a sheet on A4 cardstock with a regular printer however.
STEP 4: Adding the Silver Sticker Paper
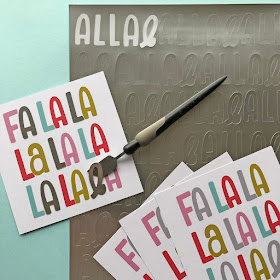
With a copy of the Print & Cut file, I ungrouped the set of letters. selected just the letters I wanted to cut from the Silhouette Silver Foil Sticker Paper and arranged them on a US Letter-Sized page (to match the sticker paper).
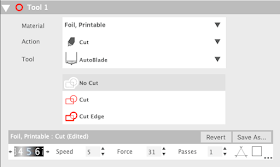
Then I cut the letters from the Foil. The default settings for the 'Foil. Printable' are Blade 5, speed 5, Force 33. I was able to reduce the force to 31.
I was then able to peel-off the silver stickers and align them over the selected letters..
STEP 6: Print & Cut the Tags
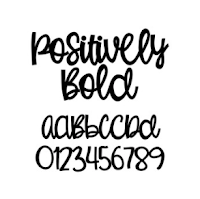
I thought the design needed an extra pop of colour, so I designed these little hang tags using the
Sofia Reign Sans Bold and
Lettering Delight's Positively Bold fonts. The colours were colour-picked from the Fa La Print & Cut so they matched perfectly.
STEP 7: Finishing
To finish, I just layered up the cutout layers with the Print & cut layers and adhered them together and then to the card blanks with liquid adhesive. Then I affixed the tags with a little silver cord threaded through the hole, and the cards were complete.
Do you mass-produce cards to send out at Christmas? I'd love to see your designs, so do share them over on the
Silhouette UK Facebook page.
Bye for now,
DESIGNS USED:
PRODUCTS USED:


