Hello, hello - Karen here with my Wednesday post. This week the free design is called Bunny Ears Props and I think it is meant to be printed out and sticks added so that you can use them as photo props. I thought I would add them to a photo of my lovely Kiera as props!
I didn't have any gray or pink card to cut them out so decided to make the design into a print and cut. I set the cut lines to 'No Cut' and added a 0.05 offset. I then found a title in my library and decided to make that into a Print and Cut design too. Again I set the cut lines to 'no cut' added an offset and filled the design with pink.
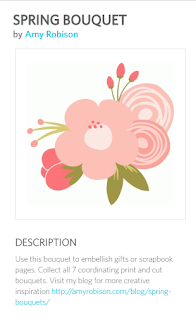
As I was going to print out the props and title I had a look in my library for a print and cut embellishment to add to my page and chose this one.
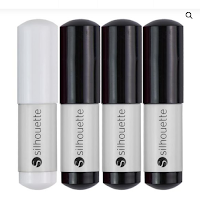
I like to have a border on my page and we all know how much I love my sketch pens so chose this bunny card as the basis of my border.
I removed the dotted line and resized it to .75in tall and then replicated it and moved it so that there was a slight overlap, and repeated until I had six groups of rabbits.
I then made them into a compound path and merged them. I replicated this around all sides of my page, merging them once I was satisfied with their position. Next this design (x3), was added above and below where I planned on putting my title.
I printed all my elements onto a piece of A4 card and cut them out.
Once everything was prepared I cut a slit around Kiera's head in the photo to enable me to slip the bunny ears behind her head so that she appears to be wearing them.
I then placed the nose onto hers and my 'Funny Bunny' was ready to add to my page.
PRODUCTS USED:




No comments:
Post a Comment