

Hello, Hello Silhouette Friends - this week the DT have been tasked with using Adhesive Magnet Sheets in their projects with a wedding theme and I thought that it would be fun to make some 'Save The Date' fridge magnets.

I started by making my magnet holder - this was really simple and is a rounded corner rectangle measuring 3.75in x 7.75in. I then added score lines at 2.75in and 5.5in.
I drew a .75in circle and split it into two using the knife tool. I added these to the middle section of my card to hold the magnet.

For decoration I chose a print and cut flower design which I resized to fit my magnet holder and cut two for each holder.

I added one to the small flap and then aligned the second underneath that one on the larger flap so when closed the second one is hidden by the first.


Now for the magnet.
For the front, I drew a rounded corner rectangle measuring 2.25 in tall and 3.5 in wide. Next I resized the print and cut flower from above and added to my rectangle, remembering to turn off the cut edge on the Send panel. I wrote my text using Beautiful Dreamer font and used the colour picker to make it the same green as on the leaves, adding a green border- not forgetting to set the cut lines to no cut. I gave it a small offset and multiplied by six to fill my page. I then printed this out on a piece of card.

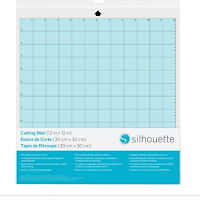
To make the magnets, remove all but the cut lines from the magnet front design and cut from the Adhesive Magnet Sheet. Remove the white backing from the magnet and add the magnet front.
All that was left was to pop a magnet into my holder and tie it with a piece of pretty baker's twine ready to post to the lucky recipients.


DESIGNS USED


No comments:
Post a Comment