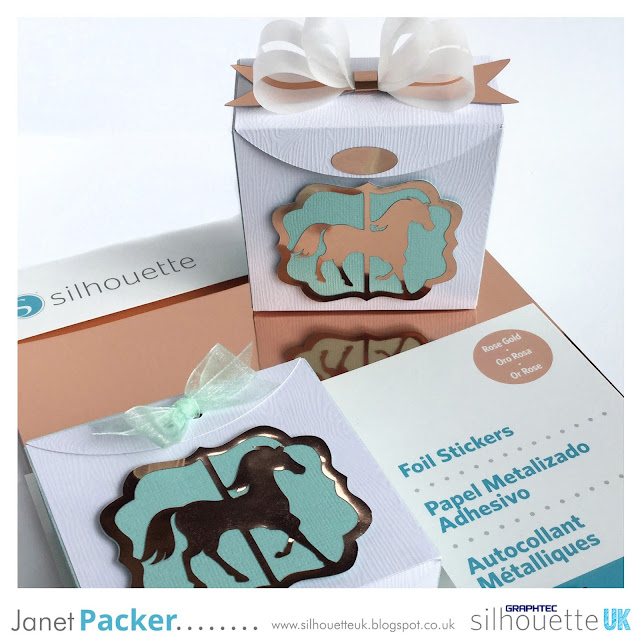
Hello, This week I've been using one of my favourite Silhouette media - Rose Gold Printable Sticker Foil. I've use two ways of cutting this pretty material, and I'm sharing them both with you here.
KISS CUT
I used the foil to decorate these pretty Carousel Horse Box gift boxes by Nilmara Quintela from the Silhouette Design Store. The method used for the carousel horse is the regular 'kiss' cut. It cuts only through the gold layer leaving the backing sheet intact. The default setting for 'Foil - Printable' is intended to give a kiss cut, but I find it too high for my machine and I reduce the force as shown below. Your ideal settings may differ.
For more complex designs such as this one, I like to remove the unwanted interior pieces while the main piece remains on the backing paper. The sheet is self-adhesive and when I'm ready to adhere the piece to card, I remove it from the backing, align it and then press it to adhere. No glue is required, so it is a totally mess-free process.
This file goes together very quickly and easily, great if you are making a number for party favours. The base is designed so that it doesn't need adhesive and the box is held closed with a short length of ribbon. You'll perhaps have noticed on the first complete box that bow tying isn't one of my superpowers. I thought it best to devise a way to close the box without the ribbon.
For the second box I released the compound path and removed the ribbon holes. A pair of lightweight adhesive hook and loop dots are all that was needed to keep the box closed.
Materials Used for Boxes
Silhouette Printable Gold Foil
Mint Textured Cardstock
White Wood-Textured Cardstock
Ribbon or Hook & Loop Fasteners
Liquid Craft Adhesive
Dimensional Foam Pads
Silhouette Cameo
DIE CUT
I decided to add some bows to the boxes to make up for the lack of ribbon. The bows use the second cut method where the foil sheets are cut all the way through. This is great where you don't want the entire length of a piece to stick to your project, just where you want it attached in one (or more) places. The backing paper remains on the foil making it stronger and thicker.
Cutting the foil as a regular die cut obviously needs higher settings. My settings are shown below.
The bows are cut from rose gold foil and pearlescent vellum. This bow uses the 3D Bow file by Felicity Jane.
This one is the 3D Layered Puckered Bow by Jamie Cripps. I'm still undecided as to which is my favourite.
Materials Used for Bows
Silhouette Printable Gold Foil
Pearlescent Vellum
Double-sided Adhesive Tape
Silhouette Cameo
If you haven't tried the Silhouette Printable Foil, I do recommend it. I've included links to some other printable foil projects below. Just click on the photo to visit each one.
 |
 |

|

|
Bye for now,
DESIGNS USED:

|

|

|
PRODUCTS USED:

|

|

|

|


Great tips Janet, love those boxes and bows they are so very pretty.
ReplyDeleteFaith
Thank you Faith. I really enjoyed making these.
DeleteGreat tips.
ReplyDeleteAs a novice in using my Silhouette I am so glad I found your blog and that you include the settings in pictures.
I hope you find the settings useful. They may be a good starting point, but it is still a good idea to use the test cut function to see if it works for your machine, mat and blade.
Delete