Hi, Janet here with a fun project using some bright and lovely papers from the All Occasions paper pad from GraphtecGB. The papers are double-sided, so perfect for making windmills (or pinwheels, as our friends across the Atlantic call them). They are 180 gsm too, so a great weight for sturdier paper crafting projects. The file, the 3D Double Pinwheel, is designed by Lori Whitlock (#81178), and is available from the Silhouette Design Store.
Cutting the File
I cut the file pieces at the original size. This made a windmill measuring 28 cm (about 11-inches) across. This is a tad surprising, as the pieces only measure about 21 cm square (just over 8-inches), but by folding the edges to the centre it creates 'sails' that use the paper on the diagonal. The paper pad is 12" x 12", so it is possible to make the pinwheel even bigger. However, I used the extra paper to cut duplicate centre pieces.
The cut pieces are shown here along with some of the materials needed: paper straws, and a brad, or paper fastener. Use a brad with long prongs. I found that the brads in this picture weren't long enough and I had to change them out for something longer.
Assembling the Pinwheel
Place one of the main pieces directly on top of the other, ensuring that the patterns that you want to be dominant are facing upward. Bring each of the corners with a hole into the centre, to line up with the centre hole, with the centre pieces aligned on top. Temporarily place a brad through all the holes, open out the prongs, and fold them open lightly. Now rotate the top main piece until it stops against the bottom one. When viewed from behind there shouldn't be any gaps between the 'sails'. Leave the pinwheel to one side and prepare the stick.
Making the Stick
One straw alone isn't long enough for this pinwheel, so it is necessary to join two straws together.
Flatten the end of one of the straws and then pinch the sides together (like the top straw shown below). This then easily slides inside another straw, resulting in a stick of better proportions for the size of the pinwheel.
Mounting the Pinwheel on the Stick
Flatten one end of the straw/stick and make a hole. I used a small hole-punch and an eyelet, but this is optional (see the lower straw in the picture above).
Now, while holding the pinwheel pieces in place with one hand, ease open the prongs of the brad, squeeze them together, and push them through the hole in the stick. Then open up the prongs once more and secure them at the back of the stick. Don't fold back the prongs too tightly or the pinwheel won't be able to rotate.
N.B. If you want the pinwheel to turn freely in the breeze, you'll need an even longer brad and a spacer of some kind (my pinwheel will turn by hand, but won't spin). A smooth bead should work if you can find a brad long enough to pass through the pinwheel, the stick, AND the bead.
Additional Decorations
You might have noticed that my pinwheel has a flower in the centre. I fussy cut one of the flowers from the paper scraps and used that in place of the centre pieces provided. I used those to make some additional hanging decorations.
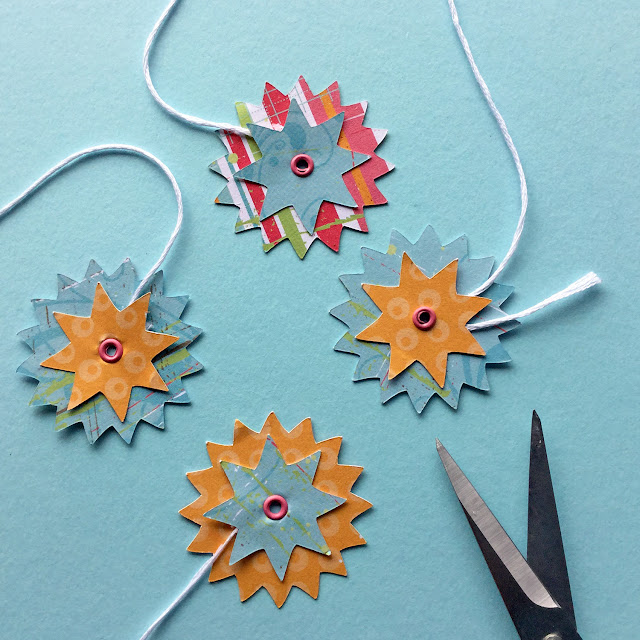
I paired them up, then pushed a eyelet through the centre hole. Before flattening the eyelet, I threaded a piece of embroidery thread around the centre, between the pieces. The thread was then trapped once the eyelet was attached. I then hung three of these from pinwheel centre, wrapped around the pinwheel centre where it is joined to the stick.
The finished pinwheel would make an impressive centre-piece on a party table, or a number would be great as decorations around a party room, or in the garden for an outdoor party.
I'm sure they could be used in many other ways too. I'd love to hear your ideas, so do share them on any of Silhouette UK's social media locations.
Bye for now,
DESIGNS USED:

|
PRODUCTS USED:

| 
|

|

|


No comments:
Post a Comment