

Hello, Karen here with a layout I made only using white card and one Silhouette Sketch Pen.
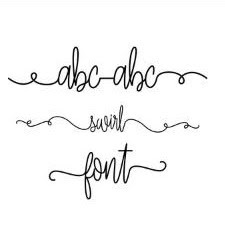
I was inspired to have a go at making my own text background by the many manufacturers who have them in their paper ranges. I recently purchased a sketch font called SWIRL FONT which is a lower case, cursive font with swirly lines that you can add to your text. I love that you can use any phrase or text you wish to suit your photo/card as the background.
STEP ONE - Making your text background.
- I started by typing numbers and then holding down the shift key and typing the numbers again - this gave me an idea of all the swirly lines that I could use.

- I then typed, in font size 24, 3i love you, several times to get the first line of my text.

- Next I typed i love you 3, several times for the second line of my text. I wasn't worried that the text extended over the drawing area as this can be rectified later.

- I then duplicated these two lines until my whole page was filled with text, grouped all the text and changed the size of the whole group to 11.5in x 11.5 in.

- To make my layout I used a large heart as the focus. First I selected the text and chose 'Make Compound Path' from the OBJECT menu.

- Then I added my heart shape

Finally I selected the text and the heart and chose 'Subtract All' from the MODIFY menu - this will remove all the text underneath the shape and prevent wasting your sketch pens drawing where it isn't necessary.

Now you are ready to add photos and embellishments to your layout.
I really enjoyed making this text background and will certainly use this technique again in the future.


DESIGNS USED:


PRODUCTS USED:
 |  |
This is gorgeous Karen. I think it would be a great layout for a wedding photo too.
ReplyDelete