Showing posts with label Patterned Paper. Show all posts

Saturday, 28 July 2018

Giant 3D Paper Pinwheel

Make Lori Whitlock's Giant 3D Pinwheels with 12" x 12" paper. Tutorial by Janet Packer https://craftingquine.blogspot.co.uk for SilhouetteUK Graphtec GB.


Hi, Janet here with a fun project using some bright and lovely papers from the All Occasions paper pad from GraphtecGB. The papers are double-sided, so perfect for making windmills (or pinwheels, as our friends across the Atlantic call them). They are 180 gsm too, so a great weight for sturdier paper crafting projects. The file, the 3D Double Pinwheel, is designed by Lori Whitlock (#81178), and is available from the Silhouette Design Store.


Make Lori Whitlock's Giant 3D Pinwheels with 12" x 12" paper. Tutorial by Janet Packer https://craftingquine.blogspot.co.uk for SilhouetteUK Graphtec GB.


Cutting the File

I cut the file pieces at the original size. This made a windmill measuring 28 cm (about 11-inches) across. This is a tad surprising, as the pieces only measure about 21 cm square (just over 8-inches), but by folding the edges to the centre it creates 'sails' that use the paper on the diagonal. The paper pad is 12" x 12", so it is possible to make the pinwheel even bigger. However, I used the extra paper to cut duplicate centre pieces.

The cut pieces are shown here along with some of the materials needed: paper straws, and a brad, or paper fastener. Use a brad with long prongs. I found that the brads in this picture weren't long enough and I had to change them out for something longer.

Make Lori Whitlock's Giant 3D Pinwheels with 12" x 12" paper. Tutorial by Janet Packer https://craftingquine.blogspot.co.uk for SilhouetteUK Graphtec GB.


Assembling the Pinwheel

Place one of the main pieces directly on top of the other, ensuring that the patterns that you want to be dominant are facing upward. Bring each of the corners with a hole into the centre, to line up with the centre hole, with the centre pieces aligned on top. Temporarily place a brad through all the holes, open out the prongs, and fold them open lightly. Now rotate the top main piece until it stops against the bottom one. When viewed from behind there shouldn't be any gaps between the 'sails'. Leave the pinwheel to one side and prepare the stick.


Making the Stick

One straw alone isn't long enough for this pinwheel, so it is necessary to join two straws together.
Flatten the end of one of the straws and then pinch the sides together (like the top straw shown below). This then easily slides inside another straw, resulting in a stick of better proportions for the size of the pinwheel.

Make Lori Whitlock's Giant 3D Pinwheels with 12" x 12" paper. Tutorial by Janet Packer https://craftingquine.blogspot.co.uk for SilhouetteUK Graphtec GB.


Mounting the Pinwheel on the Stick

Flatten one end of the straw/stick and make a hole. I used a small hole-punch and an eyelet, but this  is optional (see the lower straw in the picture above).

Now, while holding the pinwheel pieces in place with one hand, ease open the prongs of the brad, squeeze them together, and push them through the hole in the stick. Then open up the prongs once more and secure them at the back of the stick. Don't fold back the prongs too tightly or the pinwheel won't be able to rotate.

N.B. If you want the pinwheel to turn freely in the breeze, you'll need an even longer brad and a spacer of some kind (my pinwheel will turn by hand, but won't spin).  A smooth bead should work if you can find a brad long enough to pass through the pinwheel, the stick, AND the bead.


Additional Decorations

You might have noticed that my pinwheel has a flower in the centre. I fussy cut one of the flowers from the paper scraps and used that in place of the centre pieces provided. I used those to make some additional hanging decorations.

I paired them up, then pushed a eyelet through the centre hole. Before flattening the eyelet, I threaded a piece of embroidery thread around the centre, between the pieces. The thread was then trapped once the eyelet was attached. I then hung three of these from pinwheel centre, wrapped around the pinwheel centre where it is joined to the stick.

Make Lori Whitlock's Giant 3D Pinwheels with 12" x 12" paper. Tutorial by Janet Packer https://craftingquine.blogspot.co.uk for SilhouetteUK Graphtec GB.


Make Lori Whitlock's Giant 3D Pinwheels with 12" x 12" paper. Tutorial by Janet Packer https://craftingquine.blogspot.co.uk for SilhouetteUK Graphtec GB.


The finished pinwheel would make an impressive centre-piece on a party table, or a number would be great as decorations around a party room, or in the garden for an outdoor party.

Make Lori Whitlock's Giant 3D Pinwheels with 12" x 12" paper. Tutorial by Janet Packer https://craftingquine.blogspot.co.uk for SilhouetteUK Graphtec GB.


I'm sure they could be used in many other ways too. I'd love to hear your ideas, so do share them on any of Silhouette UK's social media locations.

Bye for now,

  Crafting Quine Blog | Instagram @CraftingQuine


DESIGNS USED:


PRODUCTS USED:

Monday, 23 July 2018

Getting more out of patterned paper


Hi everyone. It's Verity here from Pretty Little Button bringing you another project. Today I've created a card using the All Occasions Patterned Paper pad from Graphtec and used it with the Silhouette PixScan Mat. The PixScan mat is a great way to get more from patterned paper other than to cut it up to create a mat layer for backgrounds. Instead, use your PixScan mat to cut out elements to create as focal elements to your papercrafts. It is so easy to do!

Getting more out of patterned paper cards detail:

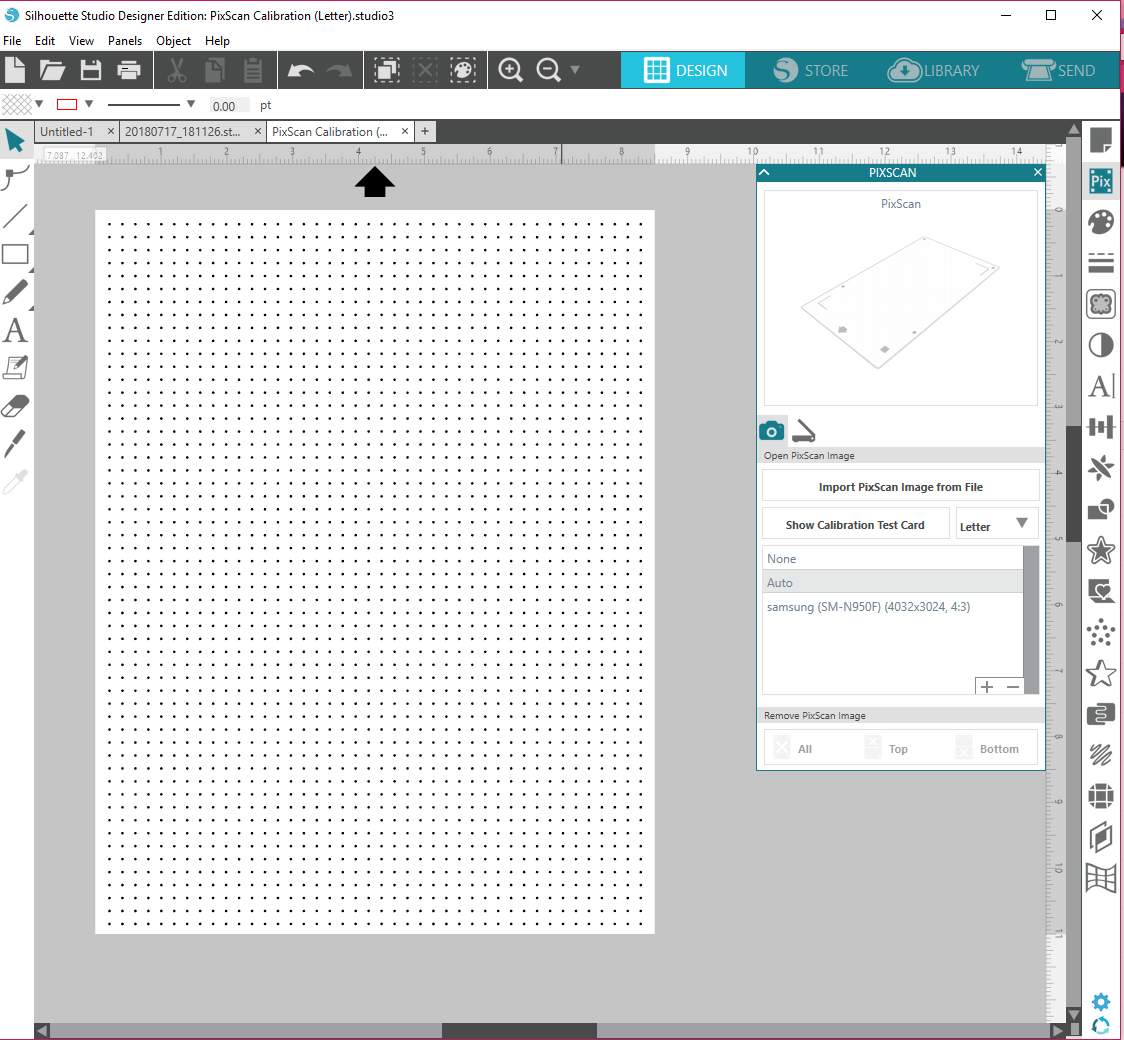
To start off, you will need to calibrate your phone or camera to use the PixScan mat. Open the Pixscan window and select 'Show Calibration Test Card'. This will change the your desing window to have an 8.5 X 11" screen full of dots. Send this to print. 


You need to take a picture of this print out, making sure the dots fill the whole screen on your camera. Next, transfer your photo onto the computer and load into the softwared. To do this,click on the little '+' sign in the Pixscan window and locate your photo file. Now you will have your camera listed in the window above.

It is now time to take a picture of your patterned paper to load into the software. Trim down the paper to the area you want and adhere to your PixScan mat. Now take a picture of your PixScan mat, making you can see all the mat, not just the patterned paper. It doesn't need to fill the screen like the calibration print out did. Once you have your photo, load it onto your computer.

To add the photo into the studio, select your camera/phone from the list in the PixScan Mat. I took mine on my Samsung phone. As you can see, I have my 'Samsung' calibration selected. The press I'Import PixScan Image from file'. The studio will attempt to load the picture.


When this is successful the software will load your patterned paper (or whatever else you had on your PixScan mat) into the design window, with a PixScan mat around it.


If you were unsuccessful and it the software is unable to load the photo, this will often be due to poor light of your PixScan mat when you took the photo, or the photo quality is poor. The best thing to do is to take another photo in better light and load this into the software. 


In order to cut items from the patterned paper you will find the trace tool will be your best friend. I initially trace the whole mat using the trace by colour tool. All the butterflies on the paper are the same colour so this was an easy way. I altered the 'tolerance until I was happy with the 'yellow trace'. 

To make it easy to see, I changed the line colour of my traced elements to blue - this stood out more from the background compared to red. 


As this has also added tracelines for all the insides of the butterflies, I need to work out a way to remove this. I only want to cut around the butterfly. To do this, I selected all the items, and release compound path. This create a lot of individual cut lines. 


I selected a few butterflies to cut, and removed the inner cut lines, keep the outline cut line visible.


If like me, you deleted all the other lines from the butterflies, but then decided you wanted one more butterfly, then try out the trace area and trace by colour tool together! First of all, use the 'Trace area' tool to create a little box around one butterfly you wish to trace. The in the Trace window tool, click on the 'Trace by colour' tab. Using the dropper, select the butterfly colour in your 'trace area' and manipulate the tolerance like you did previously. Due the trace area, only the colour within that box will be traced, as opposed to the whole photo as before.


 To cut around the butterfly, I used the offset tool to add a small offset and once complete deleted the outline cut line.


When you have all the items traced and ready to cut, load your PixScan mat into your machine and send to cut. Remember to do a test cut first. Also the PixScan mat is very similar to print and cut - it will need to register the 'registration' marks on the mat. Make sure you have could lighting over the blade, and it need be manually align your blade over the top  black square and manually register the mat.

Getting more out of patterned paper finished photos:

To assemble these cards, I added Tattered Rose and Picked Raspberry distress oxides to two card panels.  Onces I was happy with the blending I added a few drops of water, left it for 20-30 second before soaking up with a kitchen towel for a distress look. 


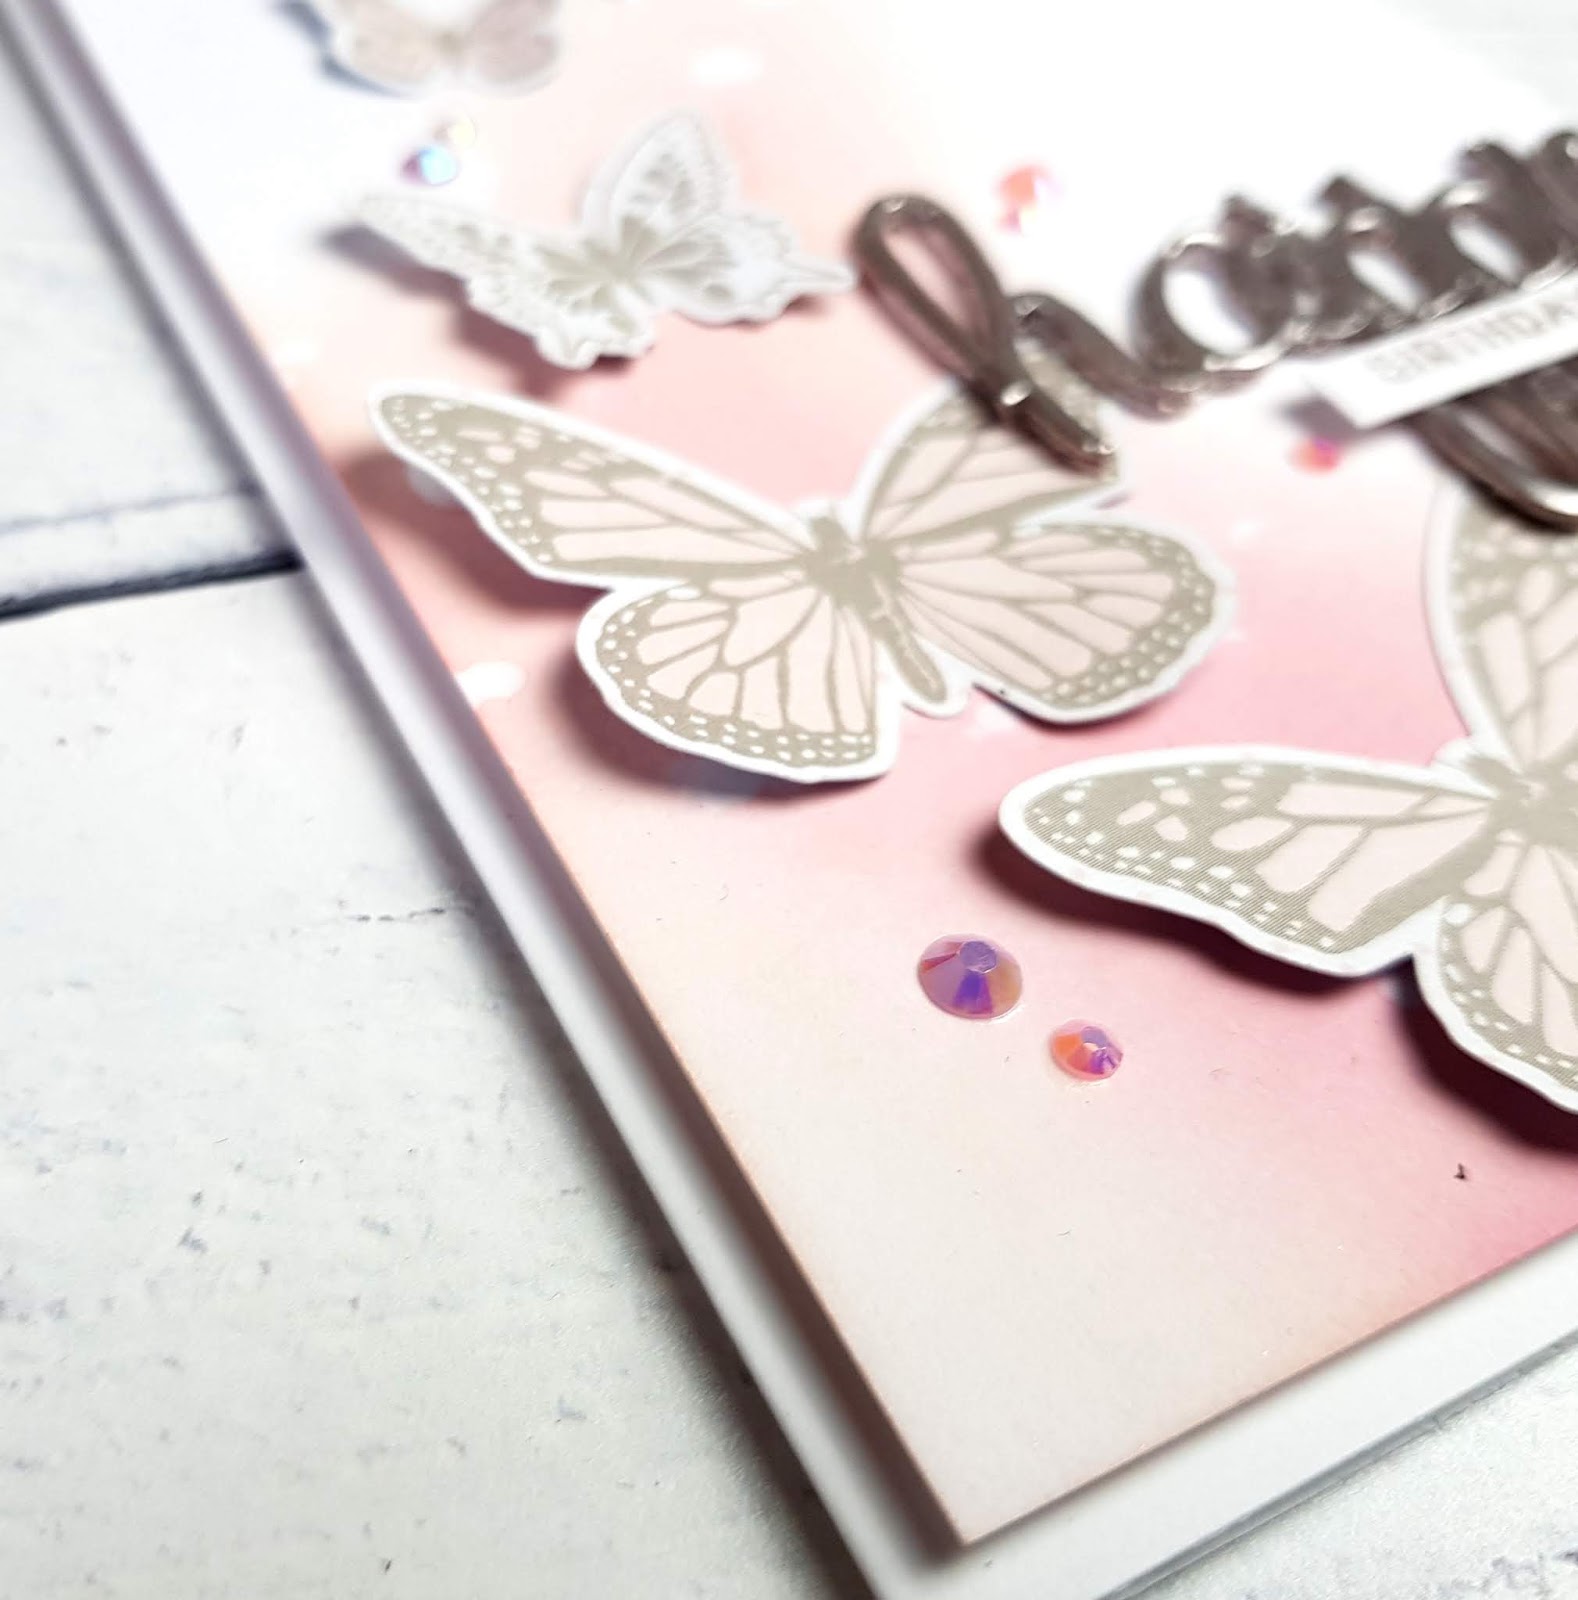
Next, I foam mounted the wings of the butterflies onto the card, applying glue beneath their bodies for dimension.


To create the sentiments, I cut the word 'Happy' and 'Hello' three times using my cameo. This font is SNF Miss Molly by ScrapNFonts. These word die cuts were layered up with glue and several layers of Pink Champagne embossing powder was added for a metallic finish.


The sentiments were added to the card panel, along with a few colour corresponding gems. The whole card panels were foam mounted onto side folding A6 card bases.


If this has inspired you to try this out, please post below. I would love to see it!

Until next time,

Verity

https://www.graphtecgb.shop/wp-content/uploads/2014/08/silhouette-cameo-cutting-mat-pixscan.jpg


Profile | Pretty Little Button Blog | Instagram | Facebook

FONTS USED:

SNF Miss Molly by ScrapNfonts -Design ID #8759

PRODUCTS USED: