Showing posts with label Karen. Show all posts

Wednesday, 29 May 2019

Wedding Frame using Printable Canvas

Hello, hello - Karen here with my usual Wednesday post.  This week I have used printable canvas in my project.  I must confess that I haven't really used this before but was thrilled with how well it printed (I used an inkjet printer) and also how nicely it cut.

For my project I have made a frame with a phrase added that is suitable for a wedding gift.


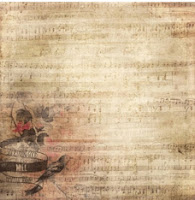
I started by choosing a background to print and resized it to 8ins square. 


Then I reduced the depth of colour by using the colour palette tool and sliding the transparency down to 33%.


I printed it out cut to size for my background.

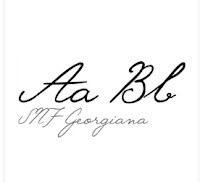
To decorate my frame I found a suitable phrase on Pinterest and used SNF Georginana to write it - I wanted a fancy font.


I typed it in two different sizes and moved them about until I was happy with how they looked.  I then added an offset.

I wanted to have something additional to decorate my frame and decided on some butterflies but I wanted them to coordinate with the rest of the design.
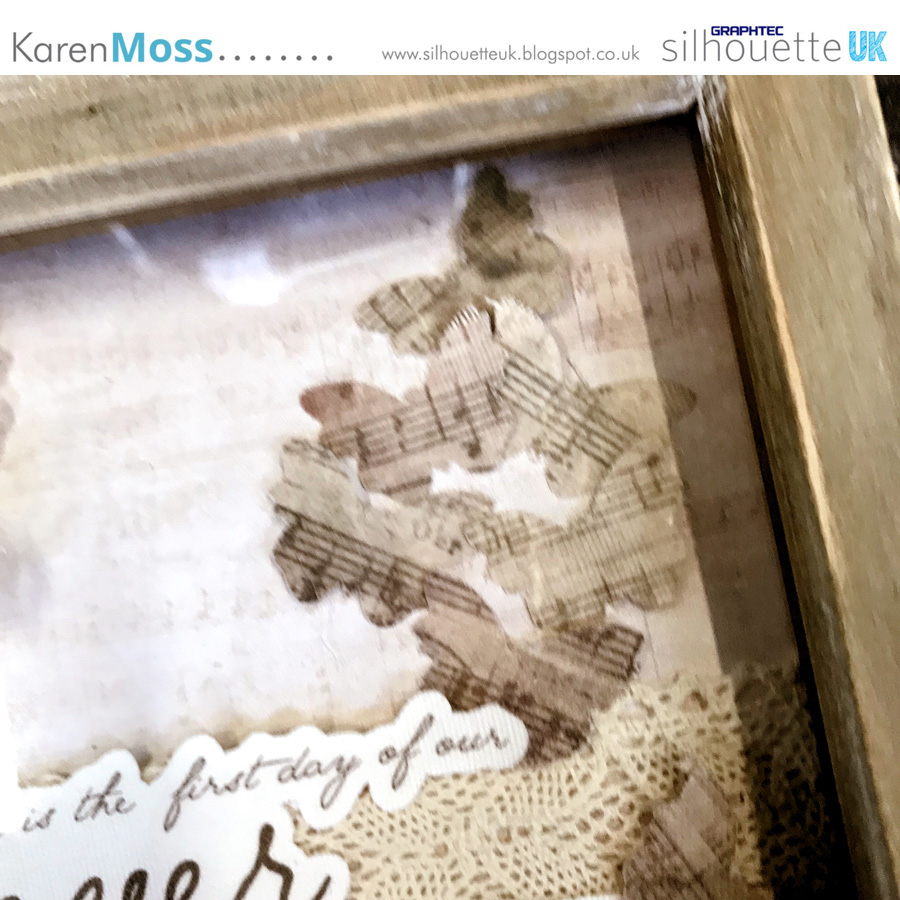


I used the knife tool to cut the darkest section of the background and added it below my phrase. Then I added some butterflies.  As this was a solid section of printing I knew that the butterflies would be completely covered with the pattern and there wasn't a need to add an offset. 


Once they were all cut all that was left was to add them to my frame, together with some lace and purchased flowers. 


DESIGNS USED


PRODUCTS USED
 

Wednesday, 15 May 2019

Bird House Wedding Table Setting - Using Silhouette Chipboard


Hello, hello Karen here with a new Wednesday post.  This week the DT are focussing on using Silhouette Chipboard with a wedding theme.


Now, the chipboard is not as thick as standard chipboard but more like Kraft card.  With this in mind I decided to make a cute little bird house favour box and then was inspired to make a co-ordinating place card


which then led to making a napkin ring!

I started with the bird house cut file and resized it to 7.5 ins wide so I could to get two onto one piece of 12 x 12 chipboard.


I then copied it and used the knife tool to remove all but the front of the bird house.
To this I added a name using Sisters Sketch font and placed on my design with the two bird house boxes.  


The last thing to do was to make the napkin ring.  I used the place card and reduced it to 66 percent.  I did the same for the roof and added these to my design along with a 1 inch strip for the ring.


Next I laid out my flowers, leaves and two easel's to stand the place cards on. 


I added four pieces of different coloured card to my mat along with a piece of chipboard and cut them out in one go.

All that remained was to glue my items together and ink all the edges before adding the flowers and some silver glittery stickers.


I thought it would be fun to fill the little bird house favour box with eggs - and it was!


DESIGNS USED


PRODUCTS USED


Wednesday, 1 May 2019

Using Reflective HTV on Card - Coming to America cake topper.


Hello, hello - Karen here with my Wednesday post but this time I am not using the DOTW.  It is a 3D Delphinium design and not something I would normally make so I will show you the design but have opted to do something different this week. 


Now, on to what I have made this week.  Previously I have seen the DT using HTV on cards and I thought I would have a go.  I was sent some really lovely red reflective HTV.  This comes in a roll 9ins wide and 3feet long.  I only used a tiny bit so have loads left, after making my project, I am soooo pleased as I absolutely love it and will be using it to make a summer t-shirt!

One of the men, where I work, is going on a three month road trip around America and as today is his last day.  As I am the resident cake maker in the office, I decided to make him a cake and needed an appropriate cake topper.


I looked in the Silhouette Design Store and found this one - perfect as he loves music and he is 'Coming To America'


I rearranged the words and added a musical note at the beginning and end of the phrase. 


Finally, I added three stars with the American flag on them.


I used the colour picker to colour the notes and 'Coming to' the same colour blue as the stars and then changed the cut line to 'no cut' in the Send window.   Next I added an offset to the whole design and removed the word America.  I sent it to print and then cut out the design. 
I cut just the word 'America' from the red reflective HTV, remembering to flip the design horizontally before sending to cut.

I aligned the red letters onto the card and popped it under my heat press for 16 seconds.  I was absolutely thrilled with the result.  I just needed to add a couple of sticks and it was ready for my cake!


Just look how lovely that HTV is, shimmering in the sunlight!


When I took a photo with my flash on I realised how reflective the HTV is.


PRODUCTS USED: