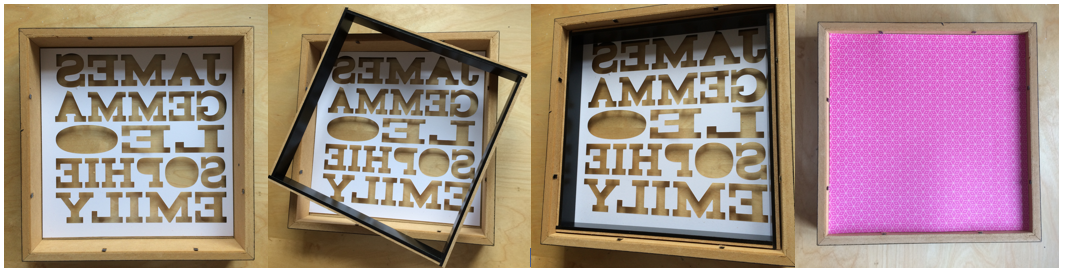
Heres how I get my frames right every time.
 Open Studio and in the page settings menu set your page size to the same size as the mount the clever Swedish people frame I used was 9"x9" or 23cm x23cm
 Next measure the size of the cutout where the photo will go and draw a square to match using the shape tool. I just draw any size of a rectangle and then adjust the size by entering the exact dimensions manually into the top bar.
Open the Align panel and select "center of page" this will move the selected shape to exactly the center. This is now your template for this type of frame. At this point I change the color of the line, as this line will not need to cut if I change it to a different color and set the same line colour to no cut, the next time I use the template the software will remember for me not to cut this line (handy because I'm bound to forget). You may also want to color fill this box as a visual reminder.
Open the text panel and select the font you would like to use and continue to add text to your project. Align the text only in the area where the mount board will be, taking care not to get too close to the edges as the lip within the frame will obscure the view of anything in that area.

Now comes the fun bit.
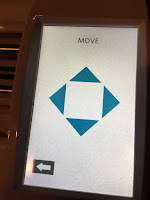 Load your mount board on to the carrier sheet so the wrong side is facing upwards. Allow the mat to load into the machine. Use the control panel on the cutting machine to position the blade holder over the top of the mount board and place you chosen color of pen into the pen holder.
As your mount is thicker than other materials you would normally place into your machine to cut when you position the pen into the holder you may find that the pen is already touching the mount board.
 Load your mount board on to the carrier sheet so the wrong side is facing upwards. Allow the mat to load into the machine. Use the control panel on the cutting machine to position the blade holder over the top of the mount board and place you chosen color of pen into the pen holder.
As your mount is thicker than other materials you would normally place into your machine to cut when you position the pen into the holder you may find that the pen is already touching the mount board.
 If we were to send the file to our cameo now, the pen may drag along the mount board marking it along the whole course of its path and not only where the text should be. To counteract this there is a simple trick, place a piece of scrap card below the tip of the pen then lock into position.
Make sure you have placed the pen in the corresponding holder if using a cameo 3
 Send the file to the silhouette machine and allow the job to complete if the pen is still dragging, pause the machine and use a thicker piece of card to raise the pen nib a little higher. By allowing the job to complete you can check the position of your text and then make any necessary adjustments.
When you are completely happy with the positioning, unload the mat and remove the mount board and turn it over to the correct side. Taking care to align the edges correctly reposition the mount board on the carrier sheet. Resend the file to the silhouette cutter or select repeat job on the cutter.
Position your scrabble tiles and/or embellishments and glue into place. Allow the glue to dry thoroughly before placing
back into the frame and closing up to aviod sealing damp into the frame.


PRODUCTS USED:
|