Showing posts with label Print & Cut. Show all posts

Wednesday, 29 May 2019

Wedding Frame using Printable Canvas

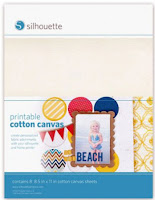
Hello, hello - Karen here with my usual Wednesday post.  This week I have used printable canvas in my project.  I must confess that I haven't really used this before but was thrilled with how well it printed (I used an inkjet printer) and also how nicely it cut.

For my project I have made a frame with a phrase added that is suitable for a wedding gift.


I started by choosing a background to print and resized it to 8ins square. 


Then I reduced the depth of colour by using the colour palette tool and sliding the transparency down to 33%.


I printed it out cut to size for my background.

To decorate my frame I found a suitable phrase on Pinterest and used SNF Georginana to write it - I wanted a fancy font.


I typed it in two different sizes and moved them about until I was happy with how they looked.  I then added an offset.

I wanted to have something additional to decorate my frame and decided on some butterflies but I wanted them to coordinate with the rest of the design.
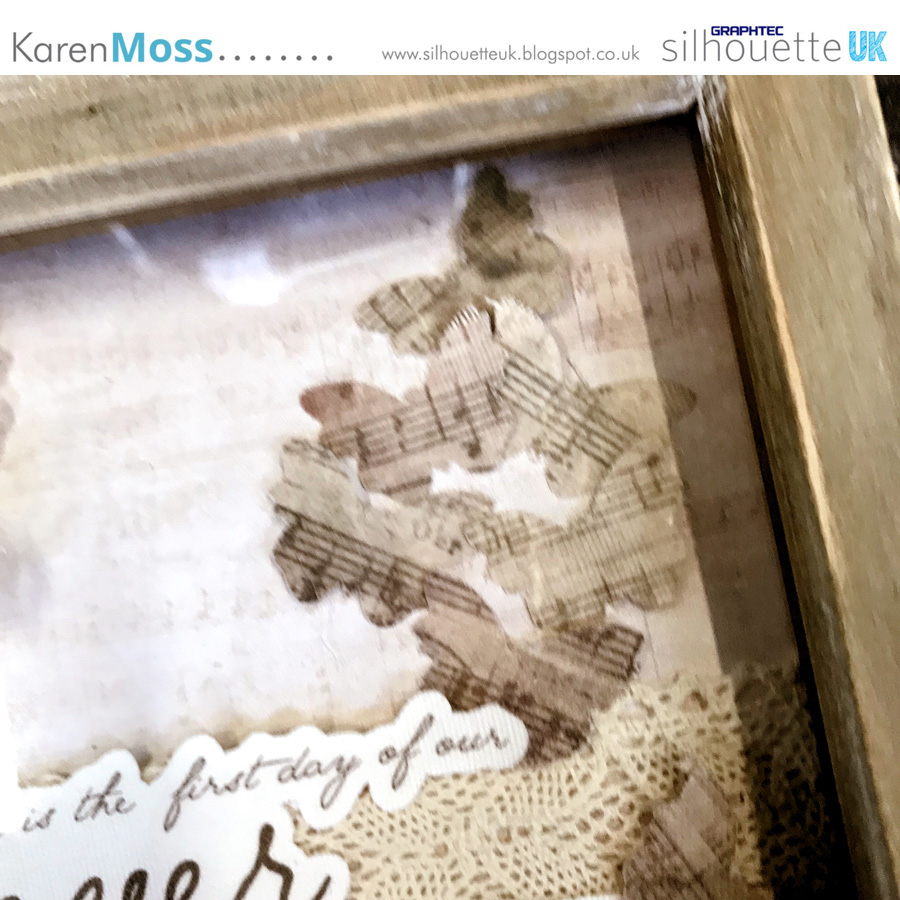


I used the knife tool to cut the darkest section of the background and added it below my phrase. Then I added some butterflies.  As this was a solid section of printing I knew that the butterflies would be completely covered with the pattern and there wasn't a need to add an offset. 


Once they were all cut all that was left was to add them to my frame, together with some lace and purchased flowers. 


DESIGNS USED


PRODUCTS USED
 

Wednesday, 22 May 2019

Save the Date fridge magnets using Adhesive Magnet Sheets


Hello, Hello Silhouette Friends - this week the DT have been tasked with using Adhesive Magnet Sheets in their projects with a wedding theme and I thought that it would be fun to make some 'Save The Date' fridge magnets.


I started by making my magnet holder - this was really simple and is a rounded corner rectangle measuring 3.75in x 7.75in.  I then added score lines at 2.75in and 5.5in.

I drew a .75in circle and split it into two using the knife tool. I added these to the middle section of my card to hold the magnet.


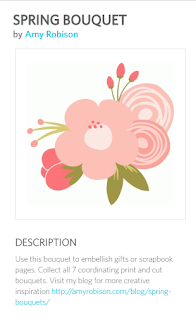
For decoration I chose a print and cut flower design which I resized to fit my magnet holder and cut two for each holder.


I added one to the small flap and then aligned the second underneath that one on the larger flap so when closed the second one is hidden by the first.


Now for the magnet.

For the front, I drew a rounded corner rectangle measuring 2.25 in tall and 3.5 in wide.  Next I resized the print and cut flower from above and added to my rectangle, remembering to turn off the cut edge on the Send panel.  I wrote my text using Beautiful Dreamer font and used the colour picker to make it the same green as on the leaves, adding a green border- not forgetting to set the cut lines to no cut.  I gave it a small offset and multiplied by six to fill my page.  I then printed this out on a piece of card.


To make the magnets, remove all but the cut lines from the magnet front design and cut from the Adhesive Magnet Sheet.  Remove the white backing from the magnet and add the magnet front.

All that was left was to pop a magnet into my holder and tie it with a piece of pretty baker's twine ready to post to the lucky recipients.


DESIGNS USED

PRODUCTS USED


Wednesday, 17 April 2019

Design of the Week - Bunny Ears Props - 16th April 2019


Hello, hello - Karen here with my Wednesday post.  This week the free design is called Bunny Ears Props and I think it is meant to be printed out and sticks added so that you can use them as photo props.  I thought I would add them to a photo of my lovely Kiera as props!


I didn't have any gray or pink card to cut them out so decided to make the design into a print and cut.  I set the cut lines to 'No Cut' and added a 0.05 offset.  I then found a title in my library and decided to make that into a Print and Cut design too.  Again I set the cut lines to 'no cut' added an offset and filled the design with pink.


As I was going to print out the props and title I had a look in my library for a print and cut embellishment to add to my page and chose this one.

 https://www.silhouettedesignstore.com/designs/58728

I like to have a border on my page and we all know how much I love my sketch pens so chose this bunny card as the basis of my border.

I removed the dotted line and resized it to .75in tall and then replicated it and moved it so that there was a slight overlap, and repeated until I had six groups of rabbits.


I then made them into a compound path and merged them.  I replicated this around all sides of my page, merging them once I was satisfied with their position. Next  this design (x3), was added above and below where I planned on putting my title.


I printed all my elements onto a piece of A4 card and cut them out.


Once everything was prepared I cut a slit around Kiera's head in the photo to enable me to slip the bunny ears behind her head so that she appears to be wearing them. 


I then placed the nose onto hers and my 'Funny Bunny' was ready to add to my page. 


PRODUCTS USED: