Showing posts with label Stencilling. Show all posts

Sunday, 26 February 2017

Beautiful Chaos...so many Hearts!


Hey Silhouette fans, Niki here with you today with lots of hearts - 288 to be exact :) 

Call me crazy but I have a bit of an obsession with foam pads, and giving my layouts lots of dimension, and therefore if it is possible to sick it on a foam pad, then chances are, it will be on a foam pad! This time however, I have surpassed even myself.

I had a gorgeous piece of Hazelwood paper by 1Canoe2 and throught I'd cut out all these little hearts on my Silhouette. I then peeled the 12x12 sheet off the cutting mat leaving all the litte hearts behind. I layered my paper over a piece of  white card and stuck it in place with some removable tape. I then painstakingly, put each heart back in place, using the 12x12 sheet as a template, but raised each one on a foam pad. Once all 288 were in place, I was able to carefully peel the template off and I was left with a background full of gorgeously pretty hearts, all popping off the page.

The result is a super fun layout, full of dimension!


It did take a while, but not as long as stitching, so that's good enough for me!
Until next time, happy scrapping xx 


Designs Used:

PRODUCTS USED:


Saturday, 28 January 2017

Stencil material: Scattered Stars


Niki back with you again today testing out the Silhouette Stencil material. I use a lot of stencils and thought I'd give it a try to make my own using the Stencil material. Silhouette's stencil material is sticky so that you don't get any bleeding under your stencil which is brilliant for using with wet mediums such as spray mists and watercolour paints.

I simply chose a stencil design from the Design Store - Star Stencil by Teresa Collins and opened it up in my software. I re-sized so it was full screen but due to to the orientation of the stencil I couldn't make it square without distorting the stars so I left it in portrait orientation. I then adjusted my blade to the recommended settings for stencil material and cut.

I wanted stars all over my background so started off by applying texture paste through the stencil just in the middle of my background. This left two white strips on either side of the layout, so I simply waited for the texture paste to dry and then applied the stencil again to the two edges. Once dry I then built my layout on top of my beautiful stars background.

The stencil material is easy to work with, was easy to clean and gave me great results - give it a try!


Designs used:
Star Stencil by Teresa Collins


PRODUCTS USED:


Saturday, 26 November 2016

Using the Silhouette Stencil Material


Hi! Bev here with a tutorial on how to use the Silhouette stencil material to create a planner or diary stencil for marking important information or to do lists to stay organised.

What you will need:
  • Silhouette Cameo/Portrait
  • Stencil material
Step One

The first step is to begin to think of the kind of shapes you would like on your stencil.  squares and circles are always good to bullet point tasks and  also larger circles and boxes for quick notes.
Open a new page and start to build the shapes into your stencil.


Once you are happy with your stencil, select all and duplicate it so you have two.

The backing of the stencil material is sticky and as we are going to be using this in a different way than usual, the second stencil will be used to back the front piece of material.  It will strengthen it and make it more durable and hard wearing.


Select one of the boxes and right click and flip horizontally.  This will make the cuts a mirror image of the first stencil and you will be able to fit the pieces together perfectly.


Step Two

Ensure that your cut settings are correct and all of the shapes will be cut.  The default cut settings have the blade at 3, but I changed this to 5 as the 3 wasn't cutting the material.  A 5 cut perfectly for me, but its always a good idea to do a test cut.  I also decided to opt for loading the media only and not using a mat.  It worked so well!


Carefully place the two pieces sticky sides together and your stencil is complete!


I hope you have enjoyed this tutorial and I can't wait to see your stencil material makes!


DESIGNS USED:

I used the shapes available in the studio and created the tabs by using the Polygon tool.


PRODUCTS USED:


Sunday, 17 July 2016

How To Make Paint Stencils


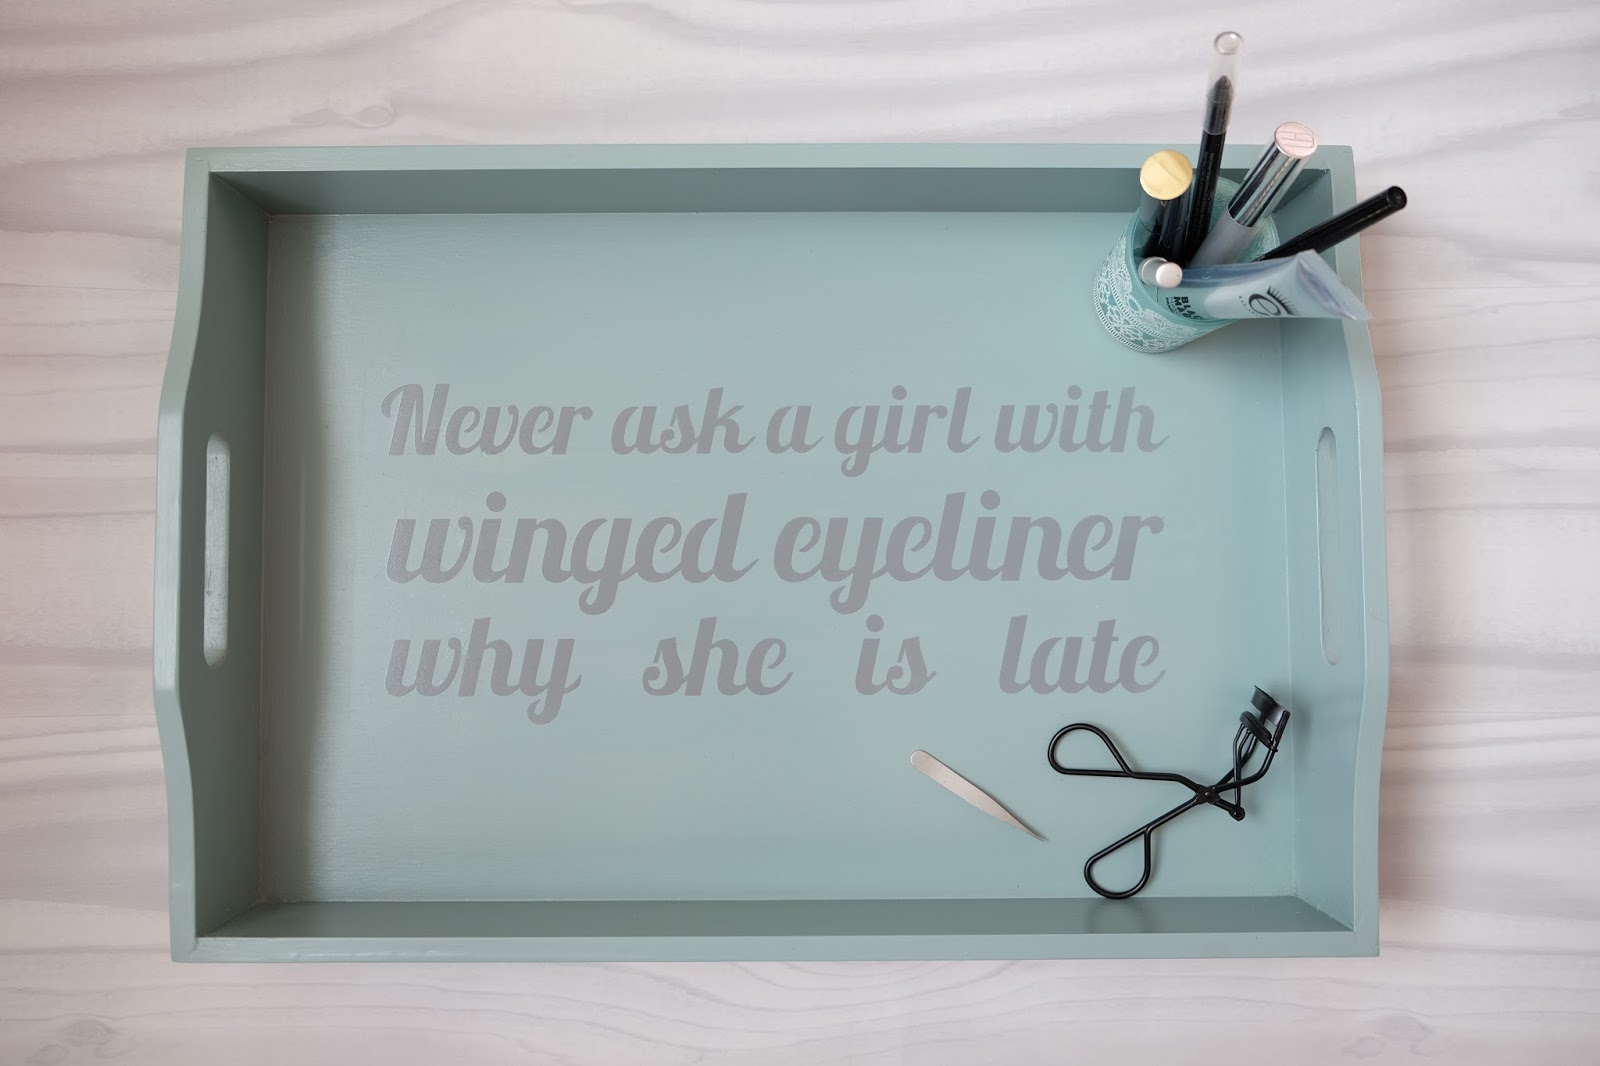
Tutorial by Nadine Muir on how to make a paint stencil with your Silhouette.  Tray with stencilled design Never ask a girl with winged eyeliner why she is late. Design made using the free stencil font for download from Silhouette UK Blog

Hello, Nadine here with a tutorial for making paint stencils with your Silhouette.

We moved house recently went for a duck-egg and grey bedroom. I bought some upcycled drawers and then painted a bargain retro dressing table that I found for sale a couple of streets away with the same paint the lady used for the drawers. I had lots of paint left over, so decided to paint a tray and have a go at stencilling. As the tray will be used for my makeup, my stencil says ‘Never ask a girl with winged eyeliner why she is late’ let's just say I'd be late for my own funeral!

Last week I showed you how to convert any font into a stencil version so that you don’t lose the internal circles and loops. In this tutorial, I use the free font called Stencil Silhouette UK that I shared in the tutorial that you can download from here. I’ve included the eyeliner quote as a Silhouette Compatible file in the download for ease.

What you’ll need


  • Silhouette
  • Stencil Design –Download here
  • Item to be stencilled
  • Paint
  • Stencil material – paper, card or acetate
  • Optional - repositionable glue

STEP ONE: Background Paint


Prepare your item to be stencilled by painting the background colour. Chalk or milk paints are a great choice as they don’t need to be primed. For a really nice finish, patch any dents with a little wood filler and sand back, I find a little effort here really reaps rewards later. My tray was only a few months old, so I just gave a light buff and painted 3 light coats. Don’t worry if your first coat looks dreadful, it’ll all come good in the next one!

Tutorial by Nadine Muir on how to make a paint stencil with your Silhouette.  Tray before

Tutorial by Nadine Muir on how to make a paint stencil with your Silhouette.  Tray after background paint - using General Finishes Persian Blue Milk Paint


STEP TWO: Cut Stencil


While your paint is drying, download the font and make your own phrase or download and open the eyeliner one from within Silhouette Studio. For the stencil material, a wide range of options can work. I used a thick paper, but if you’d like to reuse it, card or acetate would also work well.

If you have some repositionable glue, apply to the back as it will hold your stencil in place and help give a more crisp edge. A sticker paper that has a light hold, similar to a post-it note or washi tape would be perfect as then you don’t need the glue.

Tutorial by Nadine Muir on how to make a paint stencil with your Silhouette.  Spray back of stencil with repositionable glue

STEP THREE: Position


Align and position your stencil on your piece. I cut the border of my stencil to match the dimensions of the tray, so this part was extra easy.

Tutorial by Nadine Muir on how to make a paint stencil with your Silhouette.  Stencil cut to fit the tray perfectly - no fussy aligning

STEP FOUR: Paint Stencil


I used a grey matte spray paint as I find this is the best way to get a crisp edge.  Put newspaper down to protect the rest of your piece and the surrounding area and spray in a well ventilated area - ideally outside.

If you’d rather use regular paint use an almost dry brush and dab straight down.
Top tip
To prevent paint bleeding under the stencil, paint the first layer in the same colour as the background, or with a PVA/ mod podge. Any bleeding that occurs will not be noticed as it is the same colour. Continue the next layers with the stencil colour as normal.

STEP FIVE: Varnish

I used a matte top coat to seal and protect the tray.

FINISHED PRODUCT

Tutorial by Nadine Muir on how to make a paint stencil with your Silhouette.  Tray with stencilled design Never ask a girl with winged eyeliner why she is late. Design made using the free stencil font for download from Silhouette UK Blog


Tutorial by Nadine Muir on how to make a paint stencil with your Silhouette.  Close up of how crisp the edges are, no bleeding
Close up - Crisp edges with no bleeding


DESIGNS USED:

 FREE Silhouette Compatible File


PRODUCTS USED:

Light hold cutting mat for Cameo


Wednesday, 1 June 2016

Using a cut file as a stencil - Water Colour Layout

Her heart was a secret garden scrapbook layout.

I love floral cut files and I also love watercolours so it was time that I combined the two to make this scrap book page.


What you will need:

A cut file of your choice
Some watercolour paints, or you could use acrylic paints, texture paste, modelling paste, mists and sprays.
I also used some embroidery thread.
Paper/embellishments. 


I used this design from the silhouette store:


I like it as it gave me lots of opportunity to use different colours and shades.

The how to do it bit

I started out by cutting my design out of regular textured card stock...


These were the settings I used...

Here is the finished cut, I laid it over a blank piece of card stock and you can see how I made the shape large enough to cover the whole back ground...


Next up I gathered my watercolour set and my brush with a built in water well, but any brush and a jar of water will work the same.


Now on to the fun part, essentially colouring in YAY!


You can see that I tried to create different shades and tones. You will also see that I go onto the edges of my cut file. I don't worry about being too neat as watercolour lends itself to a softer and sort of blurred edge look which I love.

I continue with the process choosing various colours until it's all been filled in. REMEMBER to keep wiping your brush off in between colours. I just use a piece of kitchen roll...


Here are the picture of it all coloured in still with the cut file on top...


now for the big reveal...


Seriously, how pretty is that! The bleeding is almost cloud like and so so soft.

Now hopefully you are getting to know me well by now and you know I just couldn't leave it like that - oh no, not me!

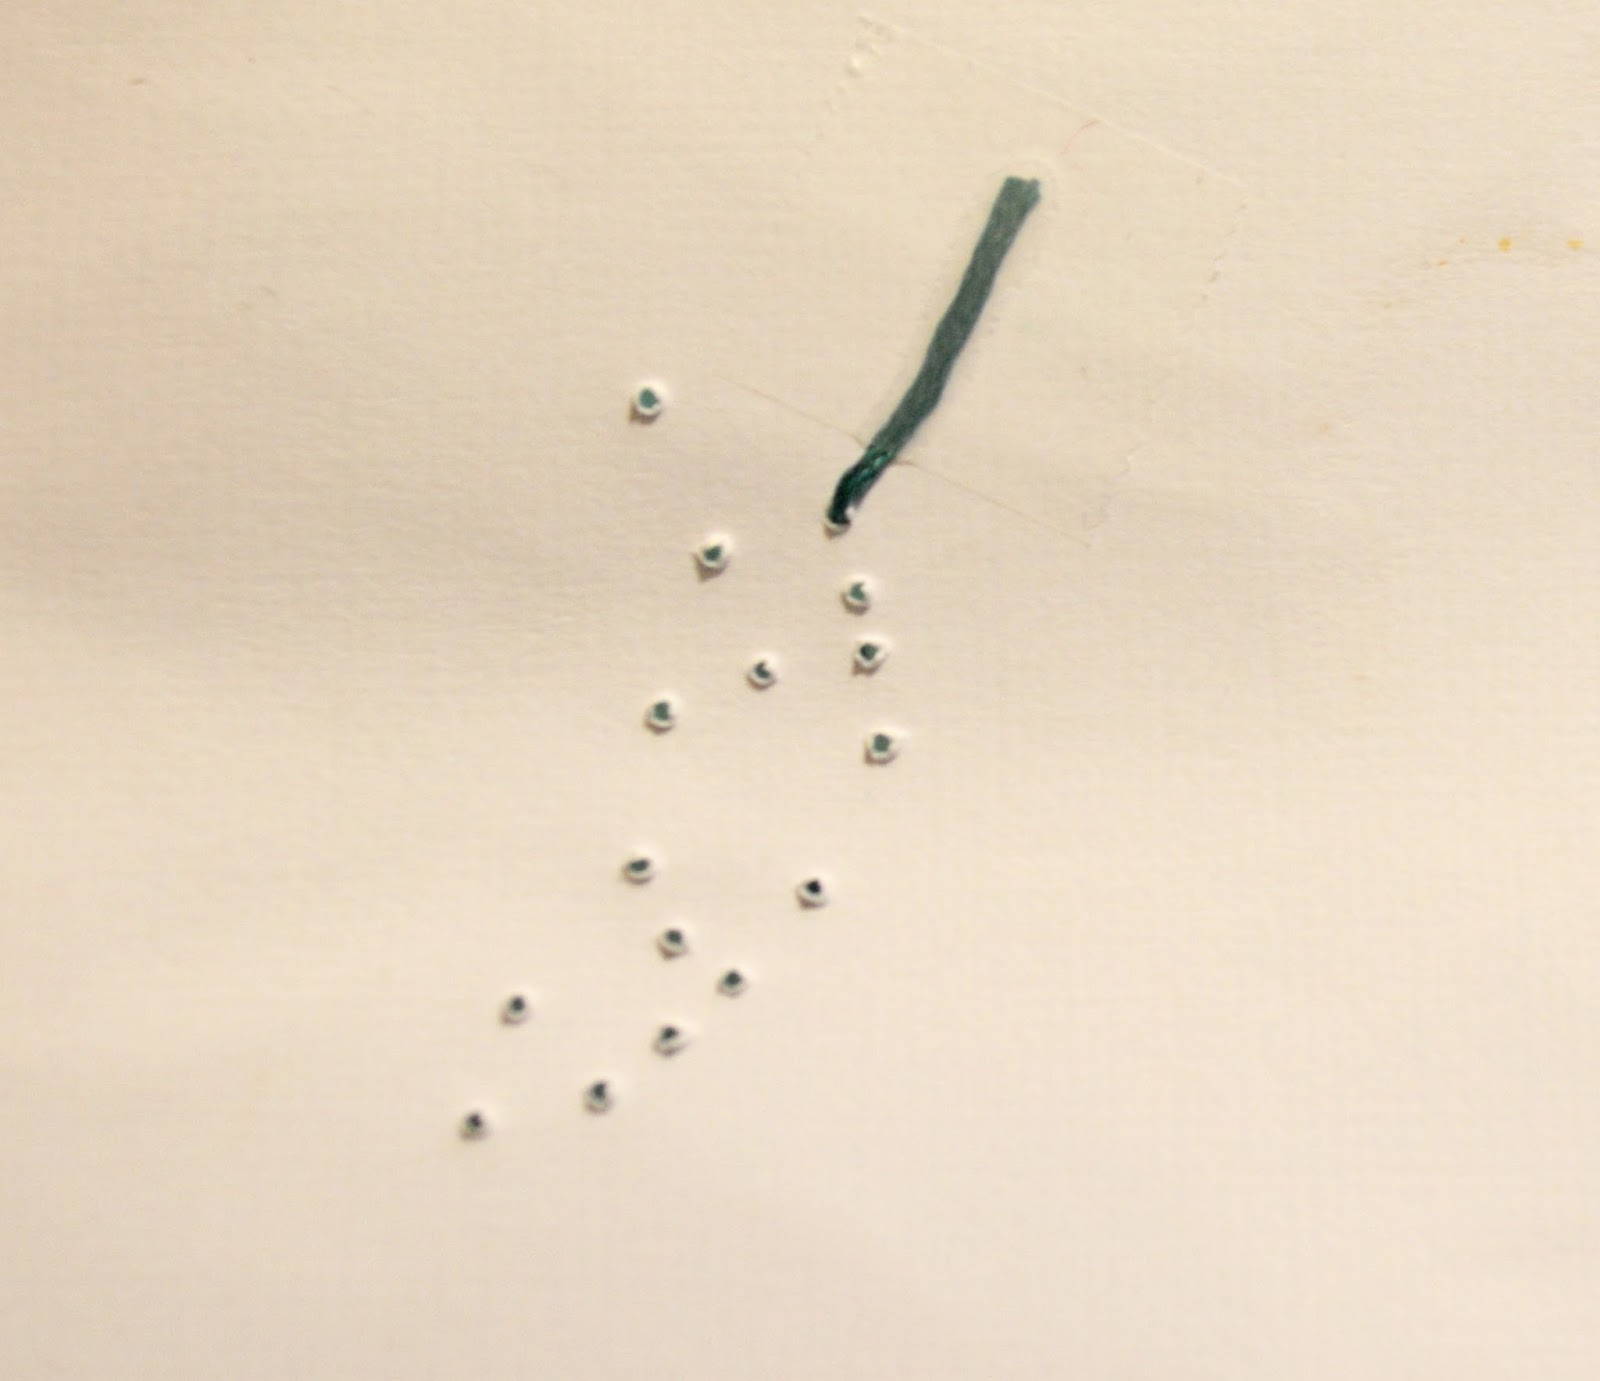
I decided I wanted to add some stitching, in a sort of  crewel work embroidery style. In order to do this I needed holes to stitch through. I just popped in holes using my needle where I was going to stitch. Sometimes it's the centre of a flower, others just the petals. I also did a section on each leaf. A handy tip is to use a needle threader to get the embroidery floss through the small eye of the needle.


 Here are the holes on the front...


Here are the holes on the back, you will see I just use tape to secure it as I don't like knots making my layout unable to lie flat...


Here is the back of the layout when stitched HA!...


Here is the final layout where I have used some patterned paper in quite soft colours to back my photo and some leaves for embellishments...


Close ups of the flowers and stitched details...


The added bonus is that you are left with this beauty to play with (I have plans)...


Isn't that just amazing, I have a great idea for another layout with this left over stencil, it's a good job I scrap for twin girls!!!!!


I hope this has given you some ideas, the possibilities are endless and I just love this machine for that very reason.

'Til next time
C x
(tillyandarthur)

PRODUCTS USED:


Light hold cutting mat for Cameo