Showing posts with label backfilling. Show all posts
Sunday, 28 April 2019
Scrapbooking with Steph - Hoppy Easter 12 x 12 layout
Hello all crafters and welcome to this weeks blog post!
Soooo I started off with my product of the week....a washi tape sheet and then found this delightful cutfile in the store https://www.silhouettedesignstore.com/designs/120065?search=easter&sortby=relevance&submitted_search=true I cut the words out on flat white card stock and the bunny and the eggs out of the washi tape paper (ensuring I changed the material to the washi tape paper setting)
With the main body of washi tape paper I gutted it with a one inch border, I backfilled the letters with the leftover washi and finally cut two pieces of the wash tape to 2 x 3 inches to use as photo mounts.
When making this layout I started with the top right hand corner and clustered together my photo and the washi tape 2 x 3 cut outs, another 1/2 x 4 inch piece of the turquoise washi, some rub on embellishments, a sprinkling of glossy dots a rosette and a wooden button once I was happy with that I stuck it all down.
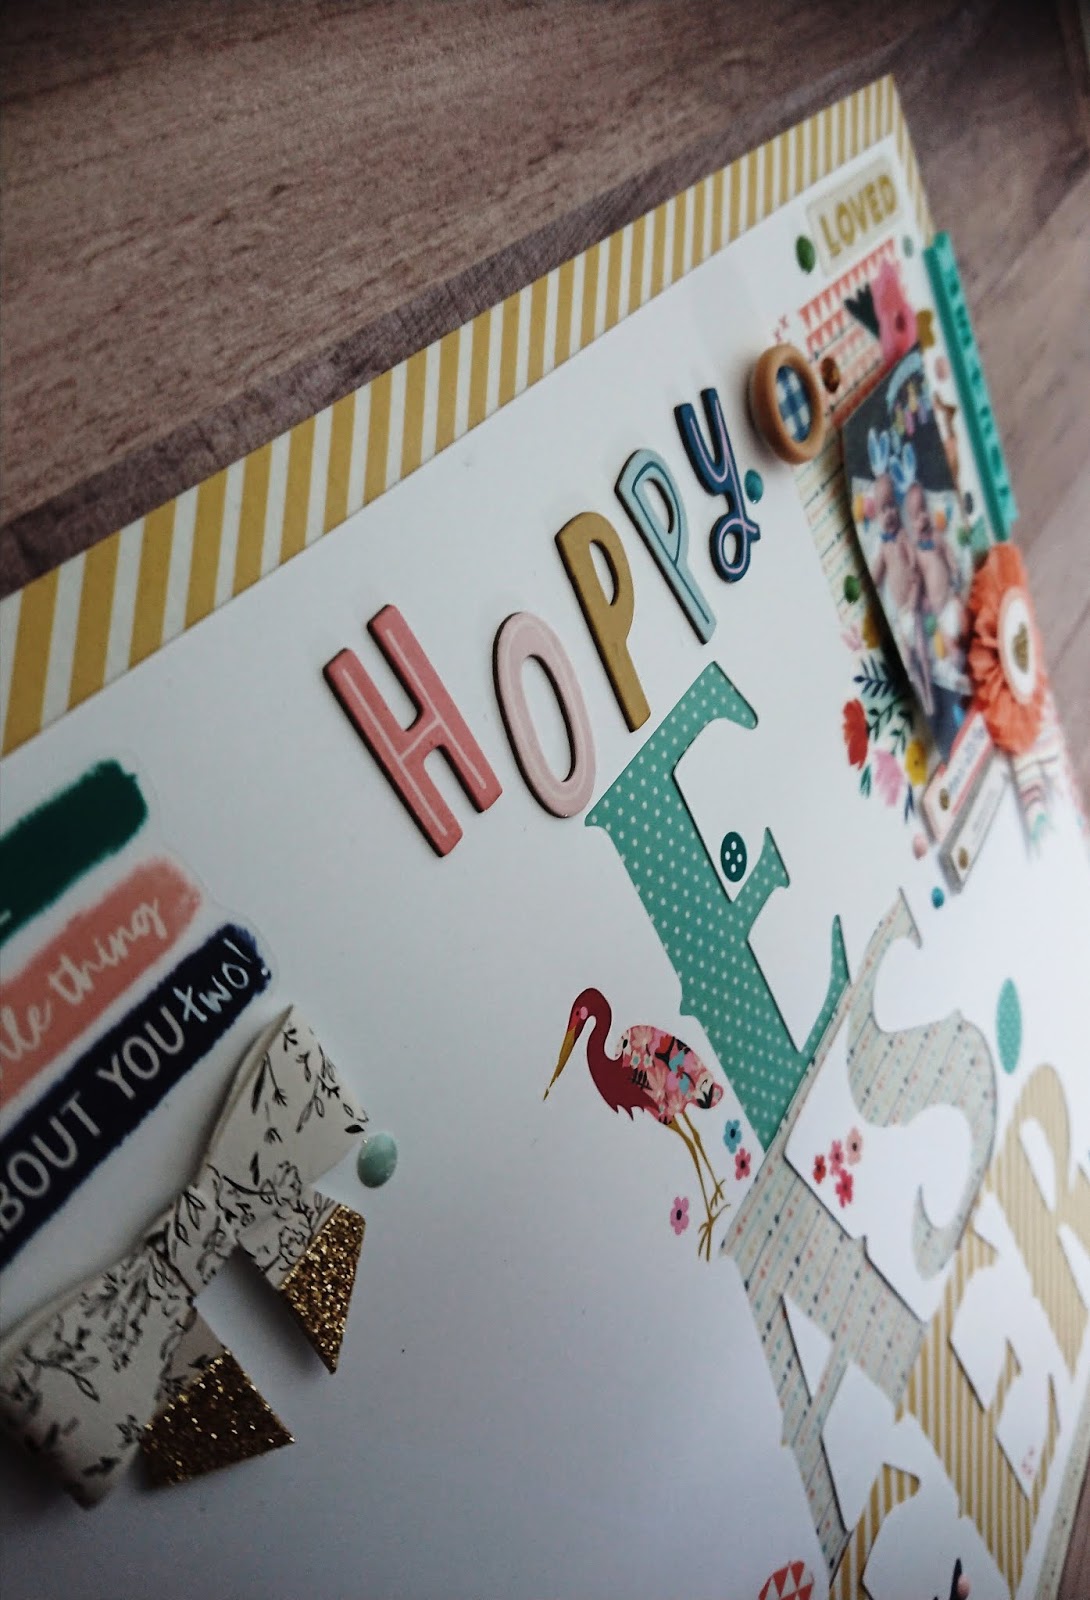
I then created another small embellishment cluster in the top left hand corner before adding the title "Hoppy" between the two clusters.
I felt the layout needed some more washi so I added the bunny to the bottom left and the eggs to the middle as well as some more rub-ons around the letters to complete the layout.
I hope you have enjoyed this weeks blog post......until next week and if you decide to scraplift this layout we'd love to see what you come up with, please share and tag us on the below Instagram addresses.
Steph xo
Instagram: silhouette_uk & stephanielouise123
Wednesday, 27 March 2019
Design of the Week - 3D Flower - 26th March 2019
Hello, hello - Karen here with my Wednesday DOTW post.
The DOTW is a really lovely 3D flower with leaves.
As you can see I constructed mine a little different to the one above as I wanted to use it on a layout and when I folded it how it was intended it was a little too bulky even for me!
When you open the file the flower is huge so I wonder if it is intended for home decor rather than for cards or scrapbook pages.
I started by reducing the size of the design using the scale panel and then copied them and reduced them again to 80% for the smaller ones.
I also reduced the size of the leaves and added a line along the centre of each one which I set my Silhouette to score.
I decided not to use the centre of the flower but to added a small cabochon to the middle of my flowers.
I started constructing my page by firstly adding a sketch pen border to my page using this design and making it 11.5 ins square.
I also used this design form my title and photo frame.
All that was left was to put my page together - I curled each layer of my flower
then I added some gems and rose gold splashes.
Wednesday, 27 February 2019
Design of the Week - 26th January 2019 - Fresh Start Font
Hello, hello and happy Wednesday to you - hope you are enjoying the unseasonable sunshine that we are lucky enough to be experiencing.
Today's Design of the Week is a font - Fresh Start.
I really liked this font and decided to pair it with a Page Evans cut file that was released yesterday - Flower Heart.
As anyone who is a regular reader of my blog posts knows, I like to mix things up a bit and so decided to use the font with a sketch pen rather than cut it out - this meant that I was able to easily journal around the edge of my page.
Also, I didn't want the heart design detached from my page - I only wanted the centre cut from my white 12 x 12 card.
- Reduce the size of the heart to 10ins wide and add to the page, slightly off centre.
- Release the compound path (this ungroups all of the parts of the design).
- Select the outside line of the design and changed it's colour to blue (I am going to use a sketch pen on this line rather than a blade).
- Select all of the elements in the design and group together.
- Draw an 11 inch square and centre on the page.
- Select the font Fresh Start.
- Type the first word of your journaling. You will see a green box around your word with a cross inside a circle. Drag the circle to the top left of your 11 inch square - you will now be able to journal around the square. I changed my font size to 30.
- You are now ready to cut the red lines and sketch the blue ones.
Once cut/sketched I backfilled my flowers, added my photo and a few chipboard embellishments.
Wednesday, 16 January 2019
Design of the Week - Hearts Background - 15 January 2019 - Using the Knife Tool.
Hello, hello and Happy Wednesday to you.
The DOTW this week is a really pretty heart background.
When I saw this design I was absolutely thrilled as I could see the myriad of possibilities offered by it.
I wanted to use it on a scrapbook page but didn't like where the hearts overlapped.
To rectify this I used the knife tool to cut the sections I didn't want and then deleted them.
I used the magnifying glass to increase the size of the section I wanted to work on and then clicked on the knife tool (second from bottom on the left menu).
This shows where I have added the cut lines and all I had to do was to delete the section I didn't want.
Once I had the design how I wanted it I cut it from some white card and backfilled the hearts. For added dimension I stuck the patterned paper to the back using foam pads and then used more foam pads to adhere the heart to my page.
All that was left was to add my photo and some die cuts to finish the page.
Wednesday, 2 January 2019
Design of the Week - Baby It's Cold Outside - 1st January 2019
Hello, hello - Karen here and a Happy New Year to You.
This week 's design is a cut file that is perfect for a snowy layout.
I started my layout by adding journaling to the outside of my piece of cardstock using a journaling LW Jordan Sketch Font.
I then added the cut file and resized it to fit my page. Next I added a little more journaling, under where I wanted to put my photo.
I used a Silhouette sketch pen to write my journaling and then cut out the title. If you have a Cameo 3 you can do this in one step but for a 1 or 2 you need to load your mat and write the journaling BUT do not remove the mat, change the pen for a blade and cut out the title.
I wanted to use glitter card behind my title and had intended to add all the little sections cut from the middle of the letters but no matter what glue I tried they would not stick so I went with not having them there. I was still left with some of the sections of the title lifting up from the glitter card so resolved this by holding them down with a wooden snowflake (bought in the sale from Sainsburys as they were left over Christmas present embellishments).
The final stage was to add my photo, with papers and a doily behind it, some gems to the centre of the snowflakes and a few sequins - I just took a few sequins and dropped them onto my page and then stuck them down where they landed.
Subscribe to:
Posts (Atom)


