When you buy some really nice vinyl or cardstock you want it to go as far as posable here is a project using the internal offset to get as many cuts as possible out of some rose gold foil.
Choose a flower from the Silhouette store or create your own.

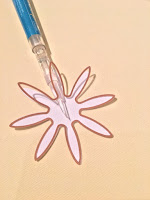
Open the offset panel and choose internal offset. I chose an offset of 0.2 this will create another "flower" inside the original flower.
Repeat this process 3 more times. This will give you 4 different size flower sizes.
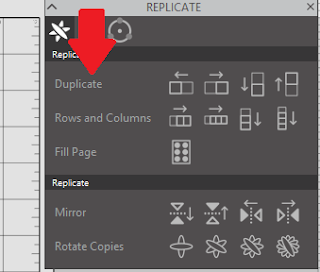
Group the flower shapes together and open the replicate panel
Make copies of the grouped shape using the duplicate option.
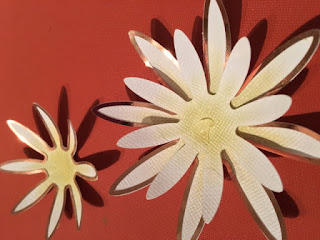
Each copy of the grouped shape will give you 4 metallic pieces to accent your flowers.
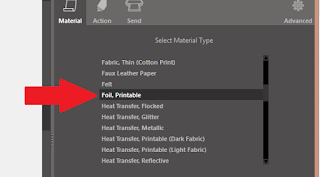
Load the gold foil onto the cutting mat and load into your Silhouette cutting machine. Click on "Send" in the top left toolbar. from the material list, select the foil you are using. click on next and ensure the correct blade you are using in selected in the action panel.
Adjust the blade to the required setting if using a ratchet blade. Place the blade in the blade holder and lock into place. "Send" the project to the cutter. Allow the project to complete the cutting process. When the machine has stopped unload the mat and remove the media.
Back in Studio ungroup the flower shapes and position separately on the mat to make the best use of the cardstock you are using to make the flowers.
I am using 12 by 12 cardstock so I have used the page settings panel to change the page size to 12 by 12 allowing me to cut a full sheet of flowers. Load your cardstock onto the cutting mat and load into the cutter. Select the appropriate media from the preset list and carry out a test cut and adjust the thickness if necessary to obtain a clean cut.
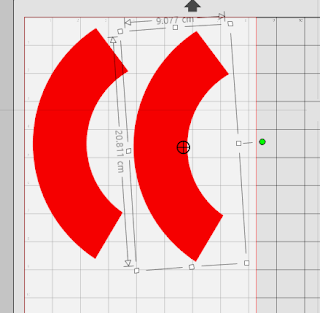
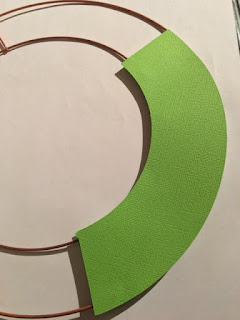
Measure the hoop that you will be using in your project you will need the width of the outside circle and the width of the inside circle. Create two circles of the matching sizes in the studio software. Use the center function to align the two circles
For this project, I want to create a section of flowers at the bottom of my hoop so I do not need a full circle of card. only a section. Select both circles and group together then use the fill option to color in the shape.
Select the knife tool and cut through the shape to create a section long enough to create a platform to apply your flowers too.
Load your chosen media onto the cutting mat and load into your Silhouette. Send the project to the cutter as normal ensuring you carry out a test cut to obtain a clean cut.
Open a new project in Studio and load some leaves onto the virtual mat from the Silhouette store or create your own be sure to size them to match your flowers. Using the replicate window as before create a sheet of leaves
load some green cardstock onto the cutting mat and load it into the cutter. Send the project to cut after you have ensured the software settings are correct.
You now have all the pieces to create your project.
Layer the petals to create different size flowers and apply the foil to create different looks. Shape the petals with a ball tool and a rubber mat.
To give the project depth try coloring the flowers with chalks, inks or paint. Remember to do the same effects on the leaves.
Use a glue gun of strong tape to stick the curved sections onto your hoop to create a platform.
Arrange the flowers and leaves and use strong glue to attach to the platform.
Try using different color combinations for different looks perhaps with different styles and types of flowers.
DESIGNS USED:
Design ID #
26921 Lily
Design ID #
68854 Leaves
PRODUCTS USED: