

For my project, I choose this design from the silhouette store, Design ID#197602 by Sophie Gallo.

After purchasing the design I located it in my library and double clicked to open it. Once on my mat, all that needed to be done was to size the phrase to suit the t-shirt that it was to be applied too. With the wording selected I dragged one corner until I was happy with the new size.
 For this process, we will need to mirror our image so the writing is the right way when applied. to do this right click on your mouse and select flip Horizontally.
 Open the align tool window on the left of the screen and from the panel that appears click the center to page button this places your design in the center of your virtual page which will help later to avoid ink escaping when printing later.
After trial and error, the best results I got was from an unlikely material, unexpectedly transfer tape makes an excellent mask. As you would expect transfer tape isn't in the preset media list within the software so using the test cut feature and a small piece of transfer tape I was able to determine that on my machine with my blade depth of 2, a speed of 2, and a thickness of 21 would cut my media perfectly. Click the send button up in the right-hand corner and with material selected,
 click add new media and you will be given the option to save you new media type and name it. You will also be able to save the appropriate cut settings for that media by clicking on the down arrow next to the words "add action" select "add cut action" in this case. Adjust the blade depth speed and thickness that worked best in your test cut. Click save and the media will now appear in your user-defined section of the material type list.
As I was using a 12x12 printing screen frame I cut myself a piece of 12x12 transfer tape and placed it on my mat. using the settings above I sent the project to the cutter.

 After cutting, the transfer tape was removed from its backing sheet and applied to the outside of the frame. It is easiest to lay the transfer tape down sticky side up and lay the frame down on top of it. If this is done on a hard surface a silhouette scraper tool can be used to ensure the tape has properly adhered to the screen. the t-shirt was then placed under the screen.
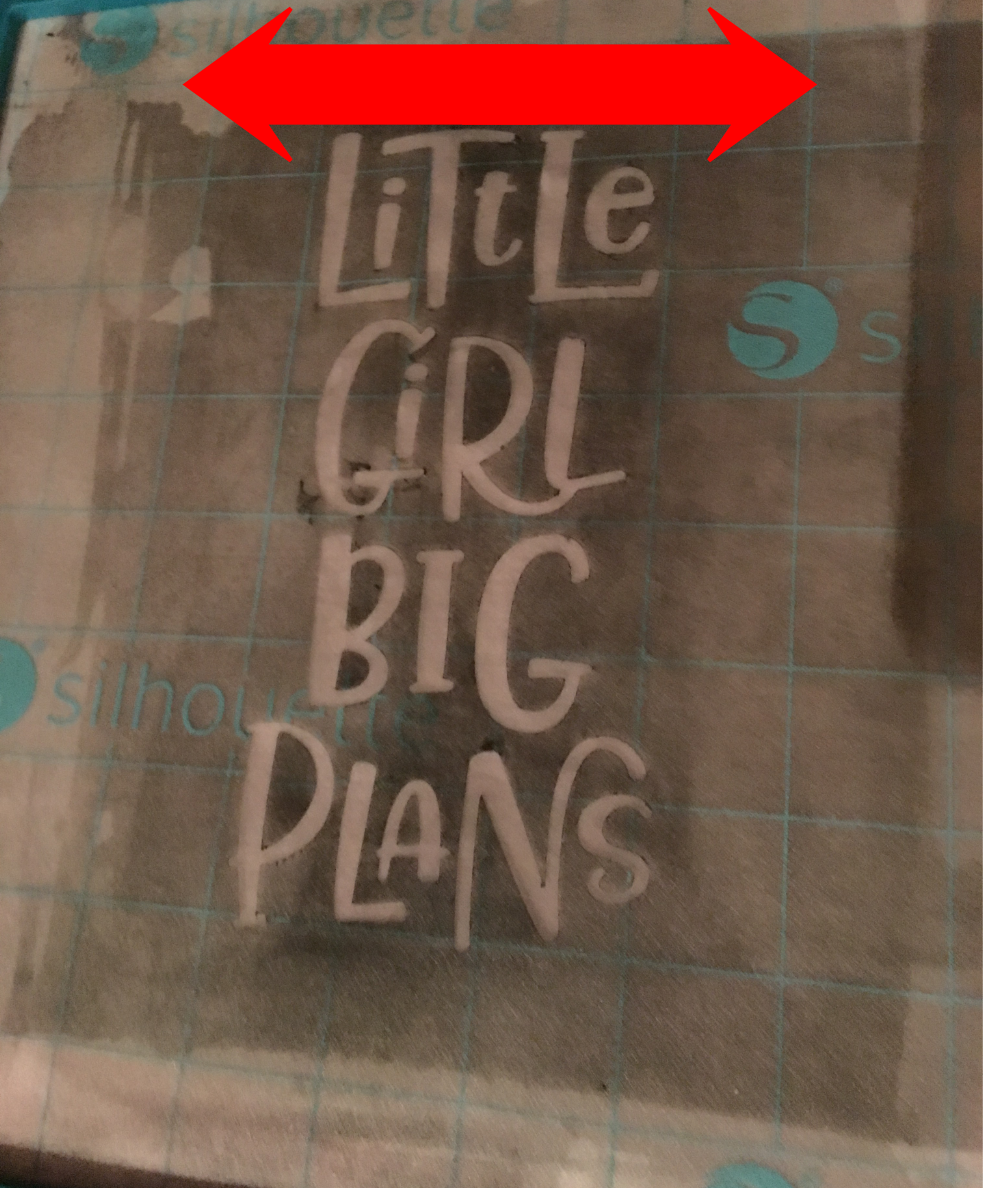 A line of silhouette fabric ink was placed above the top of the design taking care to make sure the paint stretched out further than the widest part of the text. The paint was then dragged down across the design. I used a ruler to do this but an old plastic credit type card would work just as well. The design can be used over and over to print enough for a castle full of little princesses.
I really had fun on this project and will definitely be exploring it more. Why not have a go and perhaps make a few screens and layer them up using different colours of fabric paint. but don't forget to heat set your project if you want it to be permanent.

Designs used
Design ID#197602 by Sophie Gallo.
 |  |  |  |  | ink starter kit |
No comments:
Post a Comment