

What you will need:
- Silhouette Cameo or Portrait
- Cardstock and Patterned Paper
- Glue
- Card bases and envelopes
Instructions
Open your Silhouette Studio and start a new project. I already have an idea in my head of what I want to create, so that always helps! The card bases that I am going to be using are 4x4 inches, so my first step is to make a square approximately 3.5 inches square. I have got the grid lines showing in my mat so I use them as a guide.

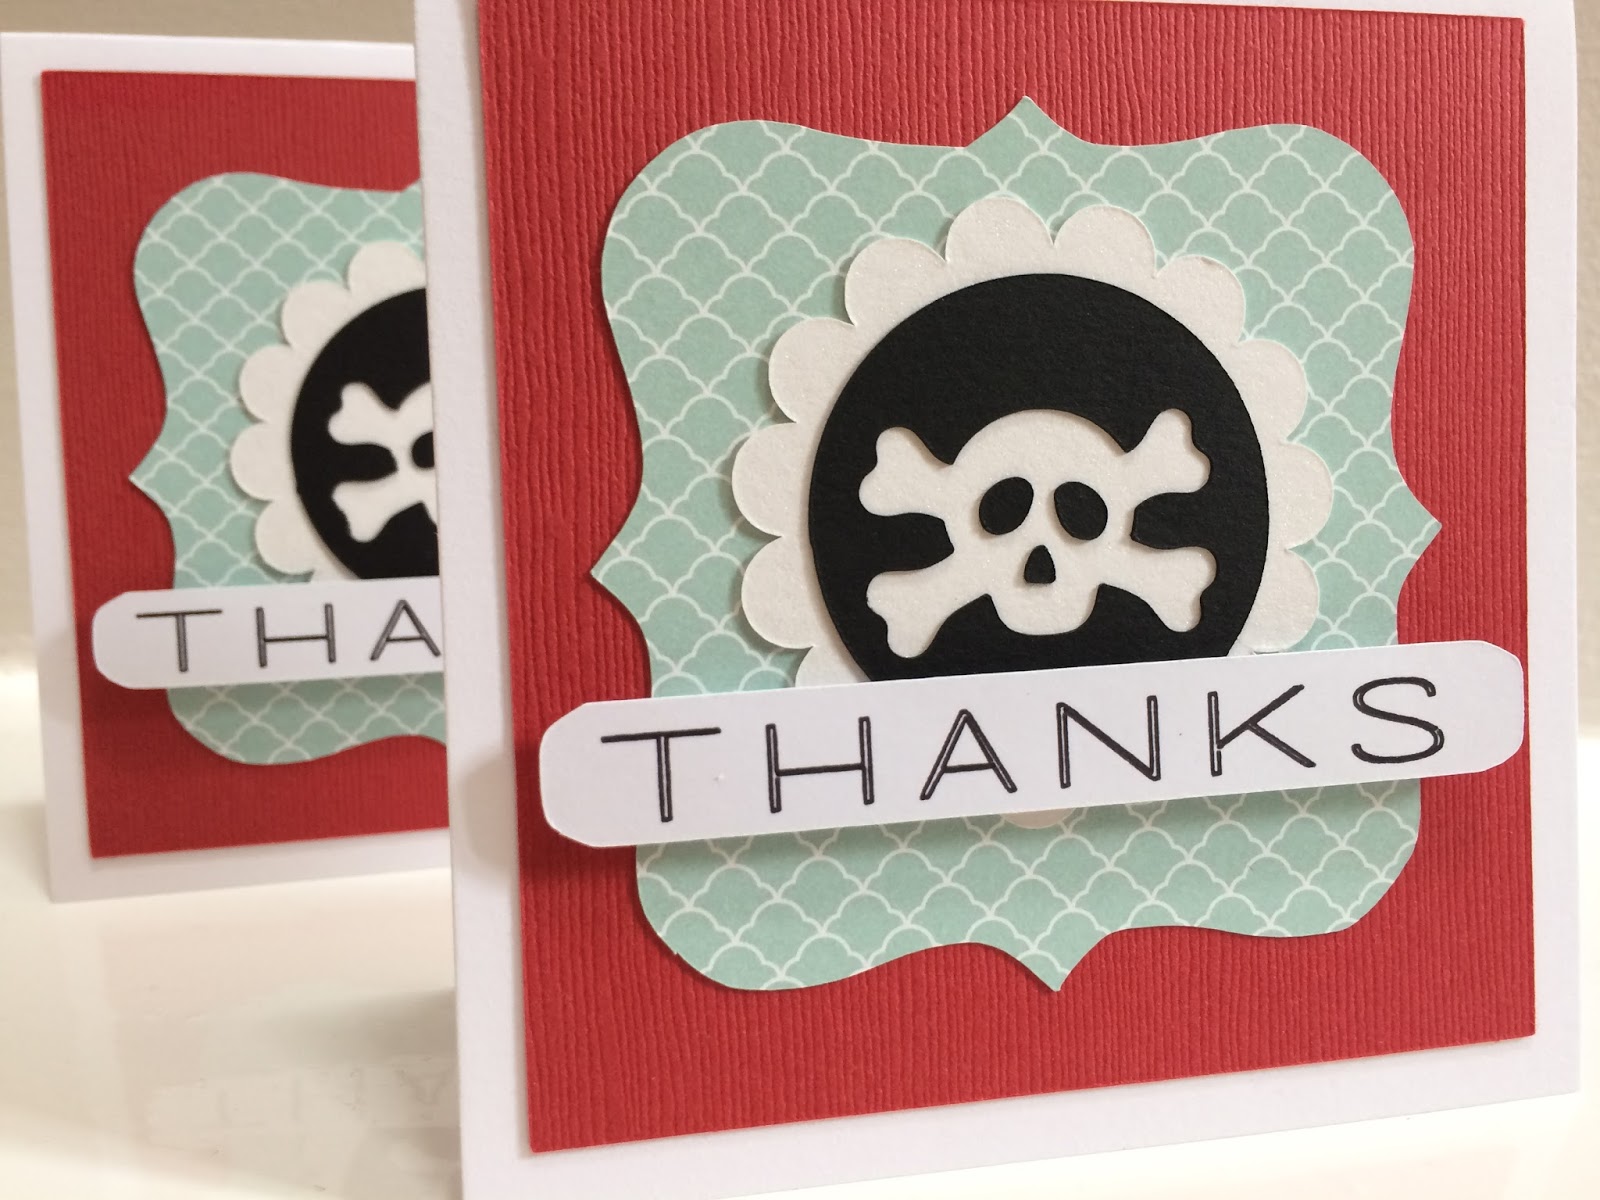
So my next step is to put the other bits that will be part of the card together to get the dimensions right and to make sure that it will all look ok. I bring up two labels from my library and resize them to fit within my card.

And I add some text in a thin font that will work well with the sketch pen.

I select my square and open the Replicate window, and Fill Page.


I go ahead and cut these squares. I am using textured cardstock, so I make sure my settings are correct.
Once I've cut the squares, I either move them out of my mat, or just delete them. I now bring the labels and follow the same procedure of replicating filling the whole page (until I get the number I need!)

These shapes I am cutting in patterned paper, so I make sure that I change my settings before cutting. I have only managed to fit 9 in one page, so I need to cut twice, the same as with the squares.
Once I have finished cutting, I delete or move these shapes out of my mat and bring the smaller label and the word "Thanks" that I am going to sketch into the card. I repeat the process of replicating the shape to fill the page, but I only need 16 so I delete the remainder.


Before I send to cut I make sure that I have the correct settings: the letters need to be selected for sketch pen and the label for cardstock (or whatever material you are cutting). Now, I have no idea if you are supposed to sketch first and cut later or the other way around. I went with cut first and sketch second :)
And in theory my card is ready! However, when I put it together it felt a bit plain, so I decided to make some more of the pirate tags that I made recently to add to the card. You can find how I made them in this blog post.
And now my cards are ready! I just need to get the kids to scribble on them and put them in the post before it's too late!

Thanks for reading and see you very soon!

PRODUCTS USED

No comments:
Post a Comment