

Hello, Janet here with a 3D project using Silhouette Cork Sheets to decorate these cute Bunny Baskets (#76181) from the Silhouette Design Store. They are great for egg collecting, and pretty enough to use for Easter or spring table decorations too. I cut the bunny panels from the cork sheets and added fluffy pom-pom tails together with some floral decorations (#121568, #251053).

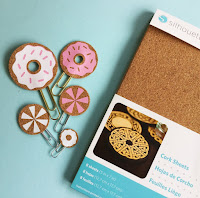
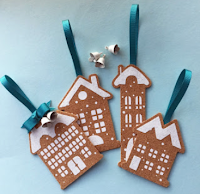
The cork sheets are self adhesive so application is clean, and the finished result is very effective. I've used cork sheets for several projects now, and love how easy they are to cut. I've included links to some previous cork projects and information posts below. Just click on the photo to visit each one.

|
|

|

|
|
Materials Used
Medium-weight Coloured Textured Cardstock
Silhouette Cork Sheets
Small White Pompoms
Strong Liquid Adhesive
Dimensional Foam Pads
Blend-able Inks
Silhouette Cameo, Portrait or Curio
STEP 1: Preparing The Cork Bunnies
1. Change the page size to reflect the size of the cork sheets which are 7" x 5" (Page Setup panel, Page size tab, enter dimensions in the height and width boxes, press Enter).

2. For this project, the dimensions may be easier to enter in inches. If necessary, you can change the unit of measurement by clicking on the gear symbol in the bottom right of the screen.

3. Open the Bunny Basket (#76181) file. Leaving all the elements grouped together, click the mouse and drag the corner handle towards the centre of the file until one bunny takes up roughly half of the cork sheet (width of around 4.467").

4. Ungroup the pieces and arrange the two bunnies so that they fit on the sheet.

5. Cut the bunnies from the cork sheet, using the minimum force that will cut through the cork (use a test cut to ascertain what this is). I was able to reduce the force to 18. Your machine may require a different setting.

STEP 2: Cut and Prepare the Basket Pieces
The file designer, Jamie Cripps, has a tutorial on how to assemble the baskets (available through the file description in the Silhouette Design Store). I have included information here on the adaptations that I made.
1. Cut out all the basket pieces including an additional offset of one bunny panel per basket. I used an external offset of 0.1".

2. Adhere the cork panel to the new offset piece.

3. Blend ink around the edges of the remaining bunny panels.

4. I found that the easiest way to assemble the pieces was to join the base pieces first, adhering the square bases above and below the joined pieces, and then joining the bunnies nose to tail. Remember to locate the bunny pieces with the handle slits on opposite sides of the base.

5. Adhere the bunny panels to the assembled base after the handle has been installed.

6. Adhere the cork covered panel to one face with dimensional foam pads.

7. Add pompom tails and a few floral accents (flowers from #251053, leaves from #121568).

8. (optional) Make a 'grass' liner to the assembled basket. I made this by welding an appropriately sized slant-edged rectangle to the Easter Scene Grass file (#186841) and joining the pieces together.


This family of bunnies will look great as an Easter display too.

Bye for now,

DESIGNS USED:

|

|

|

|
PRODUCTS USED:

|

|

|

|
An absolute delight.
ReplyDeleteFaith
x
Thank you for your lovely comment Faith.
Delete