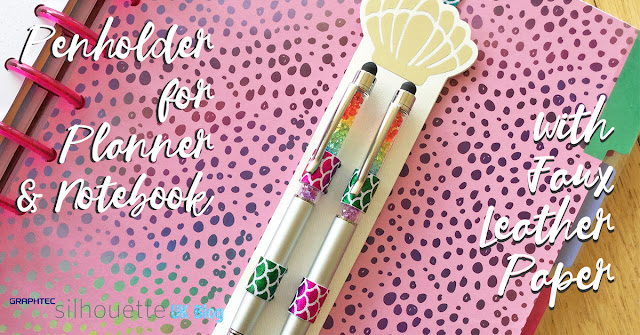
Hello, Janet here showing how to create a custom pen holder for your planner, notebook or journal using the Silhouette® Faux Leather Paper. The faux leather is stronger and more durable than cardstock, perfect for this job.
 |
I've used the faux leather in many projects previously, and although it takes a little more care to cut then card, it is well worth the effort. I've included some tips to make the job easier if you decide to try it for yourself. I've also included links to some previous faux leather projects below. Just click on the photo to visit each one.
 |
 |

|

|

|
I chose to decorate the ends of my holder with a shell image from the CG Under the Sea Dingbats Font using metallic heat transfer material. I think shells compliment the pretty mermaid scale fold-over elastic, but any relatively simple shape could be used in its place.
Materials Used
Silhouette Faux Leather Paper
Silhouette Metallic Heat Transfer
1 metre of Fold Over Elastic (5/8" thick)
Fabric Adhesive
Iron or Heat Press
Silhouette Cameo, Portrait or Curio
STEP 1: Design the Pen Holder
To design the holder, draw a pair of rectangles of similar size to your pens and then draw a larger rectangle to encase them and form a base for them. I selected a shell from the CG Under The Sea Dingbat font (click here for more info on how to do this) resized it to fit, added an offset, and welded that offset to the larger rectangle. Then add some slits for the elastic; horizontal ones for the long strap to go around the planner, and vertical ones for loops to hold the pens in place. I added 3 mm diameter circles to the ends of the splits. They allow the elastic to lay flat when threaded through the slits.
Then duplicate the complete design and delete the horizontal slits from one copy, and the vertical slits from the other. Move the shells aside to be cut from metallic heat transfer material.
STEP 2: Cut the Faux Leather
I changed the line colour of the slits so that I could be sure of cutting them completely in the Faux leather before proceeding to cut the outsides. Cutting by Line makes this process easier. This step is necessary as the faux leather will curl from the mat once the outside lines are cut completely. I found that the default cut settings for the faux leather weren't sufficient to cut on the first attempt, so increased the blade depth gradually until it cut through.
I used the deep cut blade, but on a regular blade setting. The deep cut blade isn't necessary, but I knew it would be good and sharp (a sharp blade and a sticky mat are a MUST for cutting faux leather successfully).
The faux leather has a tendency to curl and pull away from the mat. To minimise this, I recommend cutting a piece off the roll rather than trying to use the roll intact. Some masking tape to secure the piece is also a good idea.
STEP 3: Cut and apply the Metallic Heat Transfer
Cut the shell shapes from metallic heat transfer material (remembering to place the shiny side down, I use a mat, but it is not essential).
Apply the shells to the backing piece with the vertical slits (the front) with a heat press or iron (I press with a heat resistant sheet in 10 second increments until the backing paper can be peeled away, peel it, then press similarly until the surface texture of the faux leather is visible on the heat transfer material).
STEP 4: Measure, Cut & Add the Fold-Over Elastic
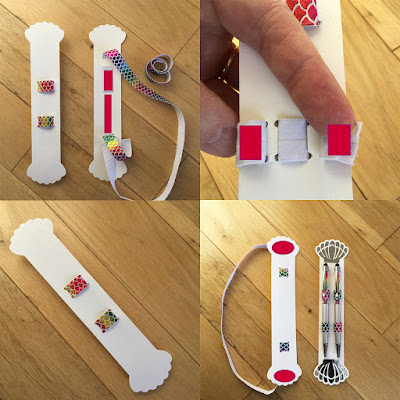
For the front section, thread the end of the elastic through one set of vertical slits and the pens, cutting it off to leave sufficient to overlap on the back. Repeat for the other set.
Thread the remaining elastic through the horizontal slits and ensure there is enough to wrap around your notebook, planner, or journal, with sufficient to overlap on the back. Trim off the excess at the red line (right hand picture below).
Apply adhesive where indicated by the red shapes to attach the elastic. Similarly, adhere the front to the back piece behind the shells.
That's it - job done! Once the adhesive is dry just install your pen holder to the outside, or within the planner/notebook or journal to act as a place marker.
This design can be adapted for different themes, just choose a relatively simple shape to weld to the basic rectangle. I hope you'll try it.
Bye for now,
DESIGNS USED:

|
PRODUCTS USED:

|

|

|

|


This is fabulous
ReplyDeleteThank you Katie. The faux leather paper is great for making items that need more durability than cardstock provides.
Delete