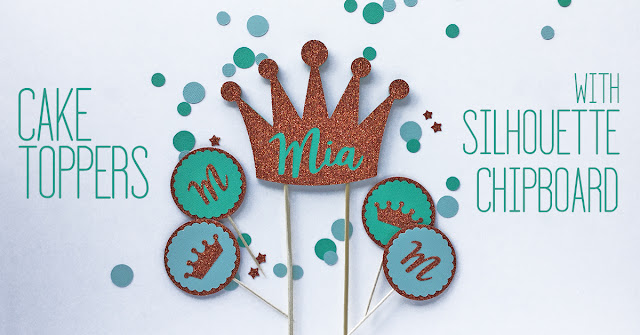
Hello, Janet here with a new Chipboard project. The Silhouette Chipboard Sheets cut and layer beautifully to make stronger items, and this week I have used them to make a set of co-ordinating cake toppers for a special occasion.
The layered chipboard can be decorated with all kinds of media: paint, decorative papers, vinyl, and more. I wanted my toppers to be glittery, but I didn’t want to risk getting glitter on the cakes. The perfect solution was to fuse glitter heat transfer vinyl onto the toppers to give a neat, flake-free finish. I used the Silhouette Glitter Heat Transfer in a rich copper.
Large Cake Topper
I used the crown from the 'Crown Me Phrase' by Lori Whitlock (#215545) for the large, double-sided, dimensional topper. The phrase was ungrouped and the crown reduced in size to about 14 cm (5.5-inches). Two rounded rectangles were subtracted from the crown to make slits to accommodate two bamboo skewers.
I cut five crowns with slits, and one with no slits, from the Silhouette Chipboard.
I also cut two crowns in mint textured cardstock and one crown in copper glitter heat transfer with a little princess's name cutout in PN Peanut Butter & Honey Font (#143690).
The topper was constructed by adhering all the crowns with slits together with liquid craft adhesive. The plain one was then adhered to the back. The bamboo skewers were aligned within the slits and stuck with more liquid adhesive to the back piece, and the mint cardstock crowns adhered to both back and front.
The heat transfer was then applied on top with a domestic iron, protecting the heat transfer media with a silicon sheet.
HINT: The negative lettering was easy to apply to the reverse of the topper using the used backing sheet from the positive piece.
Cupcake Toppers
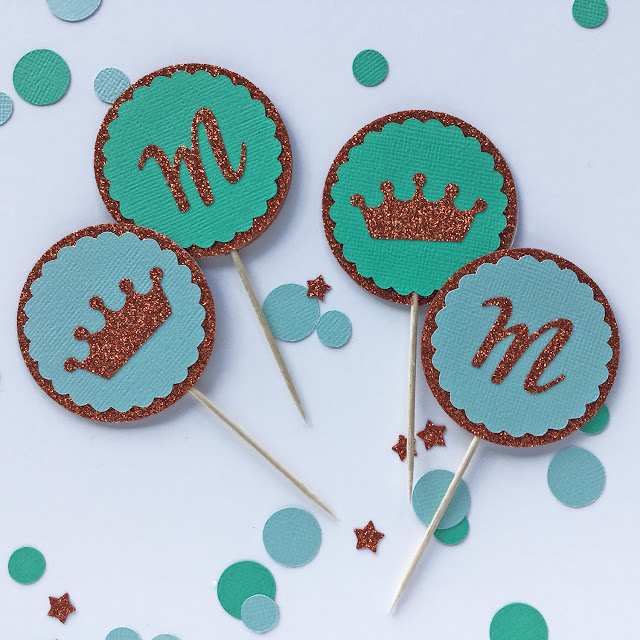
I made a matching set of cupcake toppers using the Princess Wands/Cake Toppers by Lori Whitlock (#63758). In addition to the pieces in the file (scalloped circles in cardstock, and decorations in heat transfer) I added:
- a circle with a slit (cut from chipboard, one per topper),
- a circular frame to fit (cut from heat transfer, two per topper), and
- a letter 'm' using the PN Font (#143690) (cut from heat transfer).
A cocktail stick was sandwiched between layers of heat transfer either side of the chipboard piece, and the cardstock-decorated shapes adhered to both sides of the toppers.
Confetti
Table confetti was easy and cheap to create by cutting circles utilising the spaces around the scalloped circles. The waste stars from the heat transfer can be utilised too.
The chipboard was the perfect base for all these glittery decorations. I do hope you'll try it. Here are some links to some other chipboard project tutorials. Just click on the photo to visit each one.
|
|
|
|
Bye for now,
DESIGNS USED:

|

|

|
PRODUCTS USED:

|

|


I recently made a wedding cake topper but never thought to add slits to the layers. What a brilliant idea!
ReplyDeleteThanks for your comment Jackie. I like using slits so the topper has a flat profile from the back as well as the front face.
DeleteYou always have such great ideas Janet.
ReplyDeleteFaith
x
Thanks Faith. We try to have something for everyone.
Delete