What you’ll need:
- Silhouette CAMEO
- Silhouette Clean Cut Fusible Stabilizer
- Heat Transfer Vinyl
- Fabric
- Garment (baby onesie)
- Free Crafter Stitch Font - download here
STEP ONE: Prepare and Cut Fabric
Prewash your fabric, apply the clean cut stabiliser and cut your shape. Refer to Steps One and Two from my previous appliqué tutorial if this is your first time.
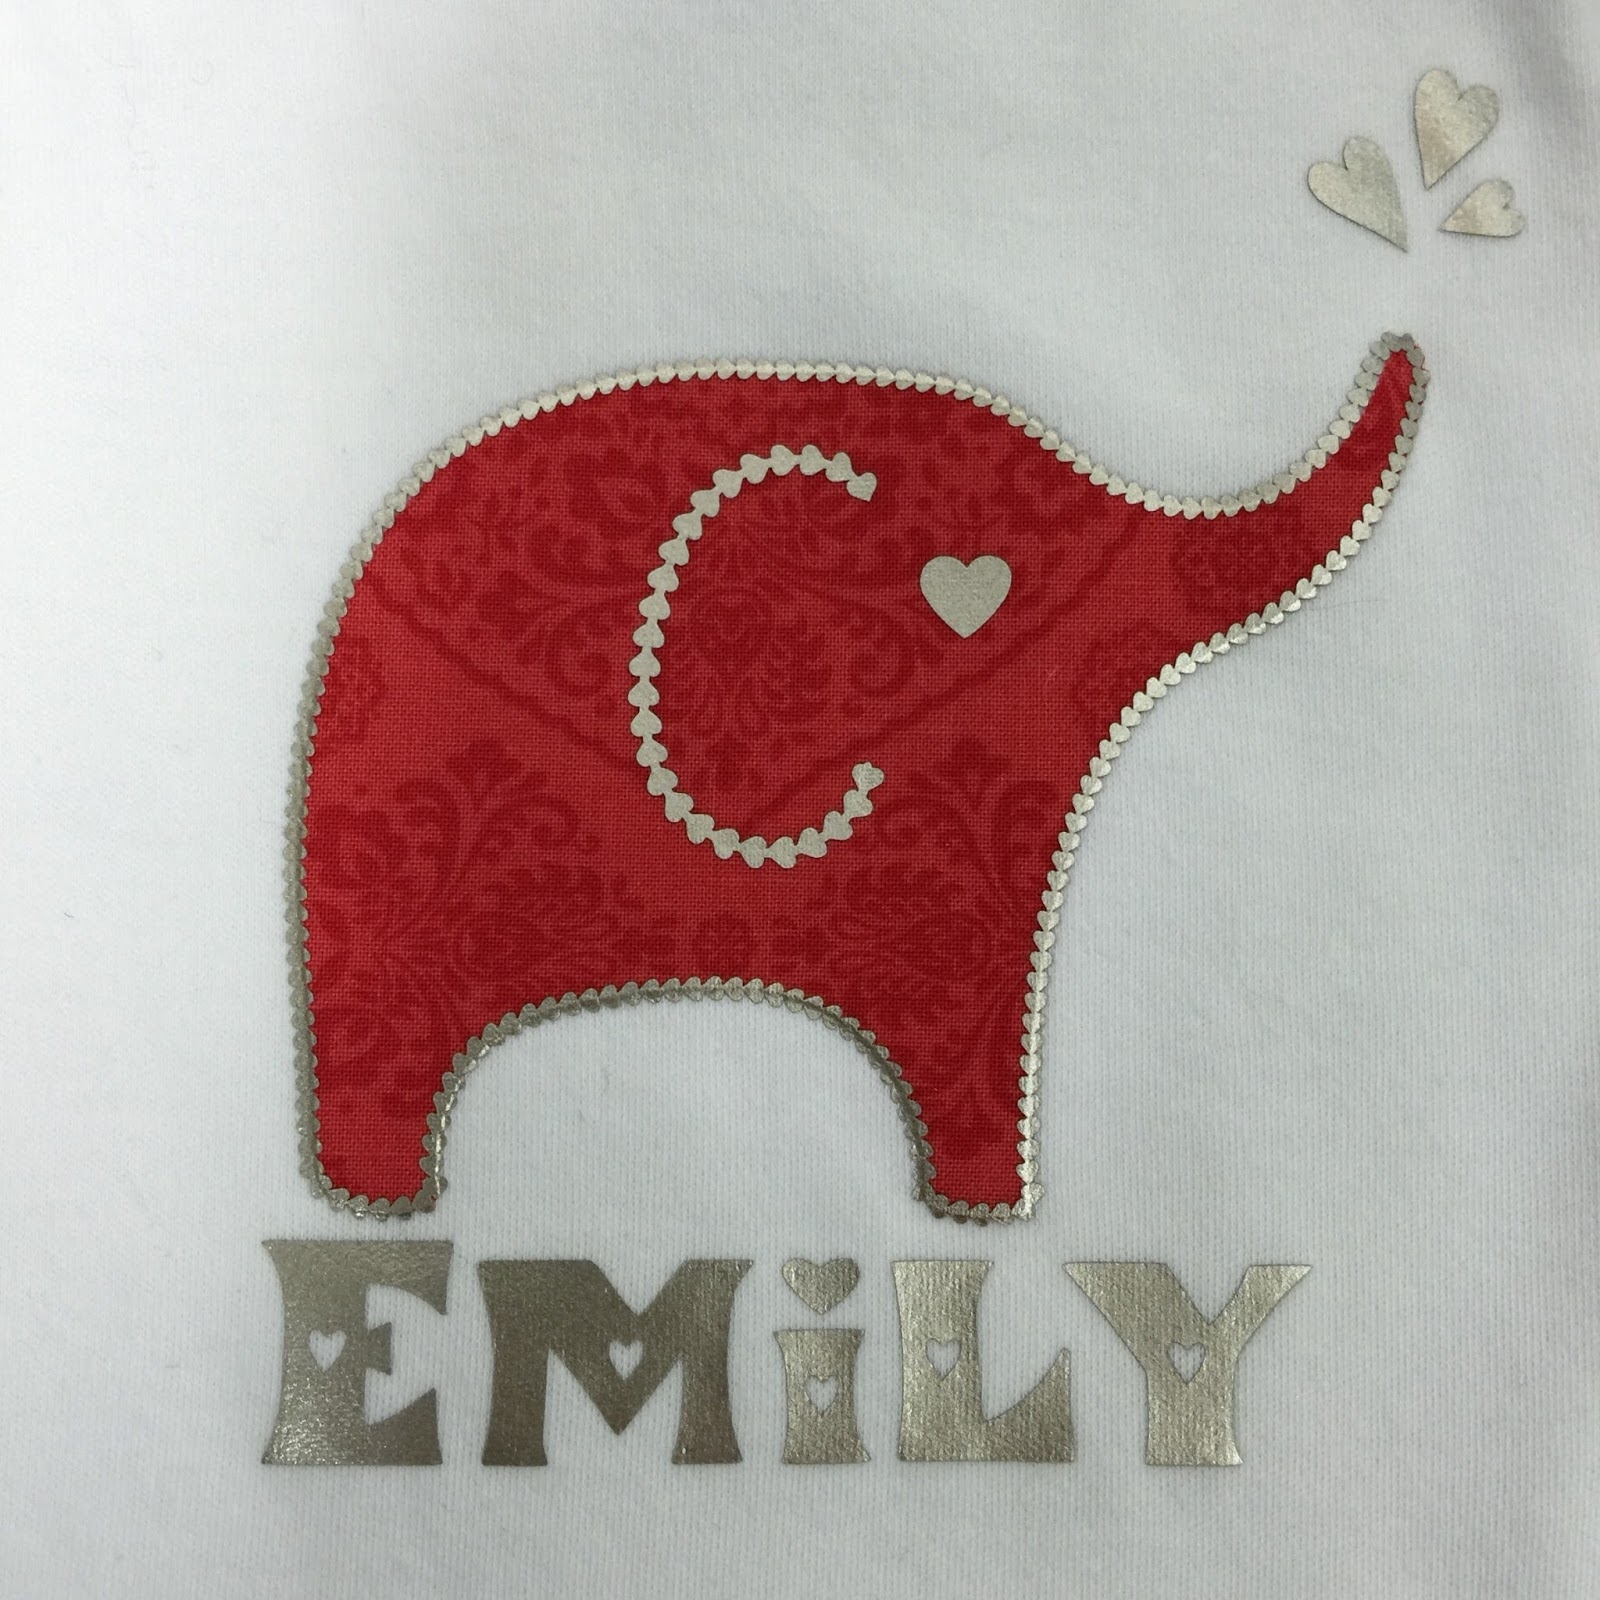
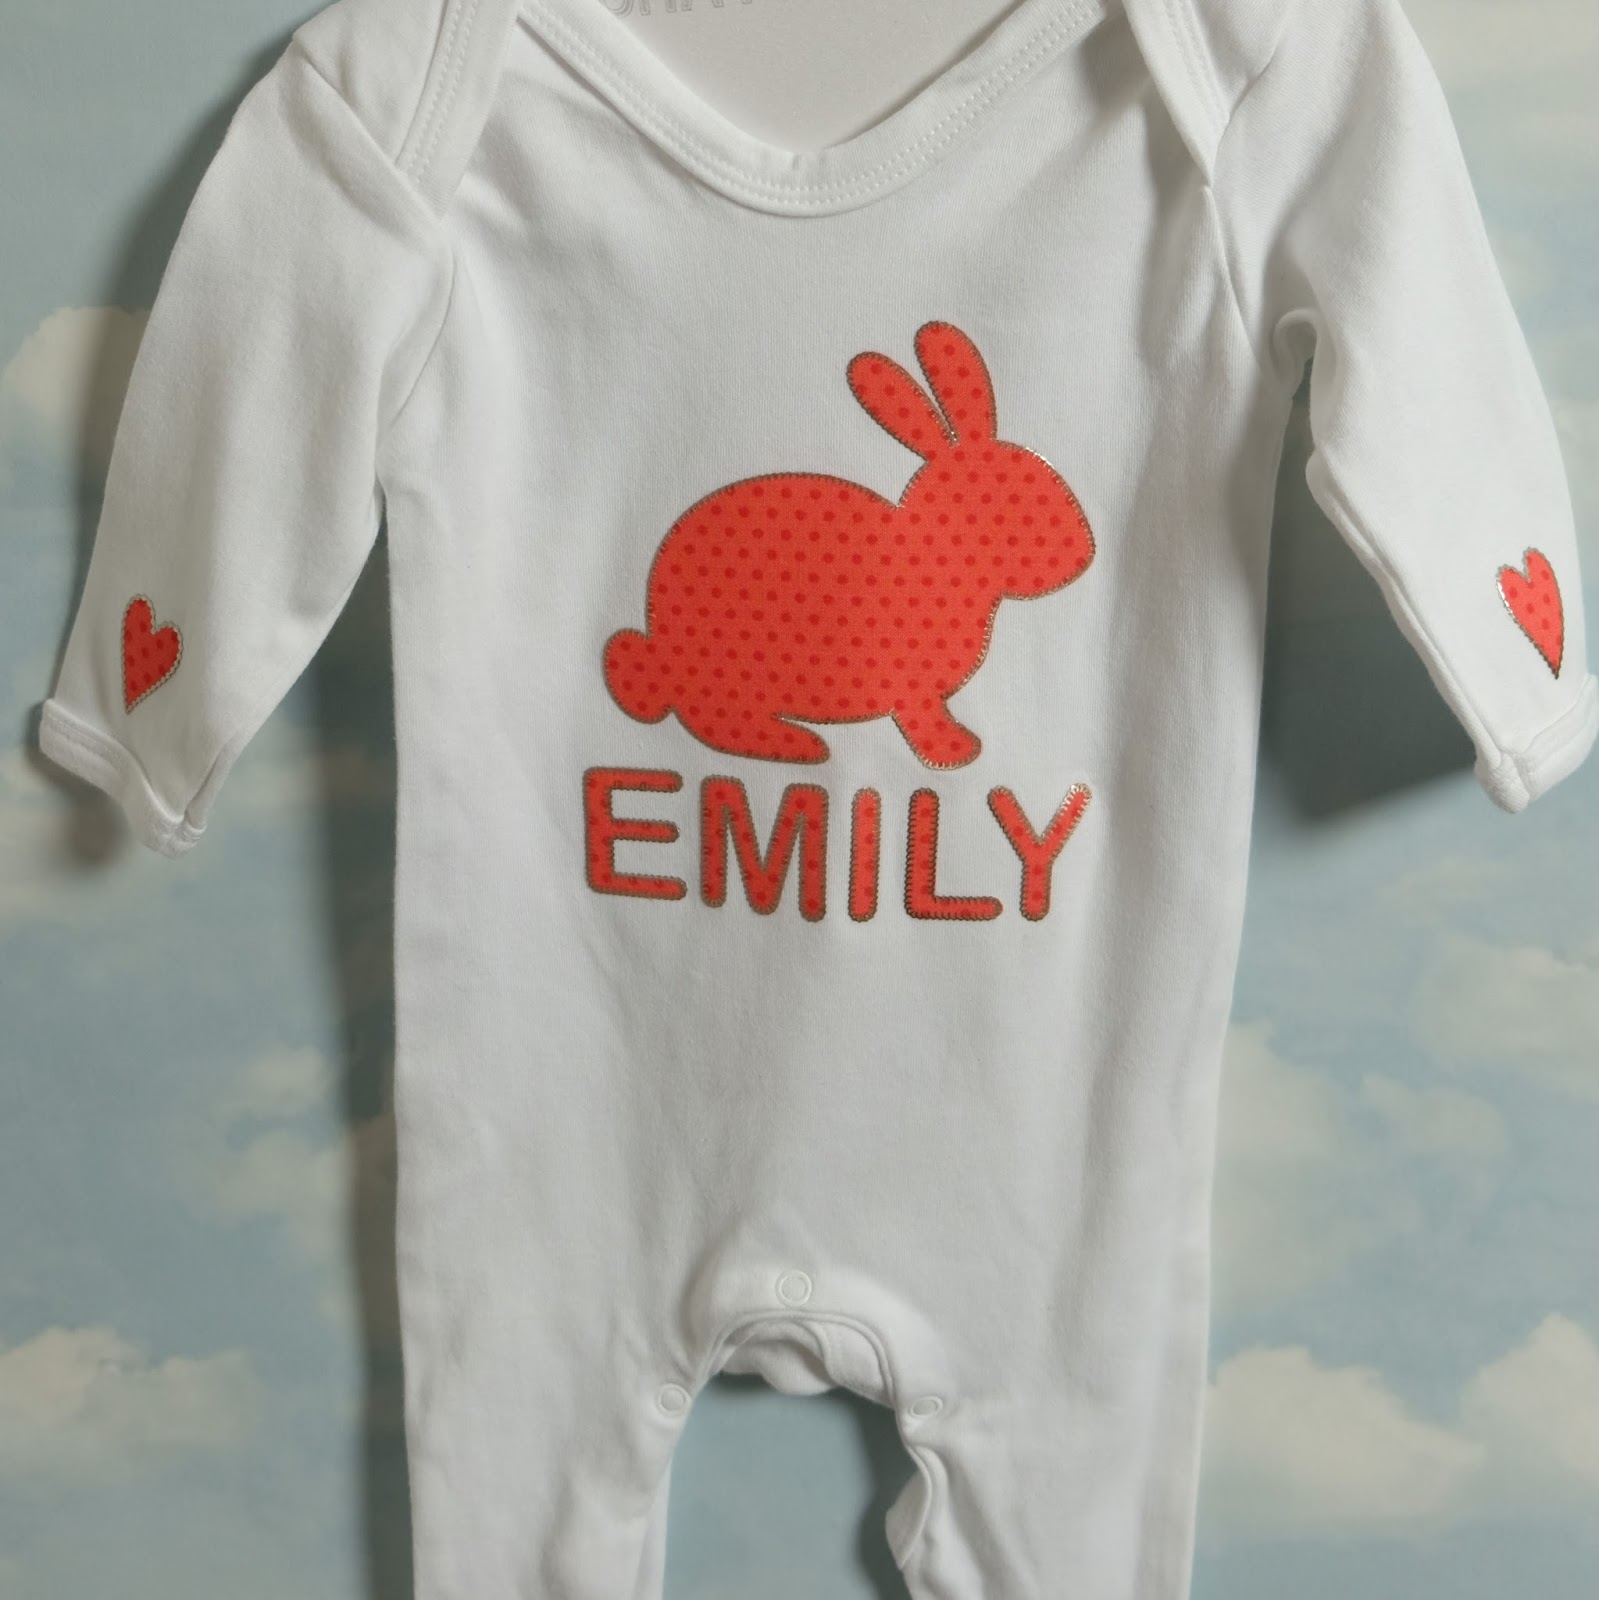
I cut the elephant (Design ID 6985) at 8.5cm tall and 10.9cm wide and the bunny (Design ID 76573) at 10.6cm tall and 11.9cm wide. For the elephant design, I used HTV for the name, whereas for the bunny project, I used fabric and selected Arial Rounded MT Bold (standard free font) in size 130pt to spell out my niece's name Emily.
Optional - depending on your fabric, you may want to use the Pixscan mat. I did this for the elephant fabric as I wanted the mandala pattern be centred.
I took this quick snap of the fabric on my mat with my iPhone:
I loaded the photo via pixscan menu. As long as you have the full mat in the picture and the lighting is OK, don't worry about background or a slight tilt, the software can handle that. The white lines are the shapes I added to be cut, positioned so the pattern works nicely.
Load the mat and cut with the fabric blade as normal.
STEP TWO: Pick your Embroidery Stitch
Use the Character Map to help pick your stitch.For the elephant I went for uppercase letter V to create a heart style stitch. Font size was 22pt and character spacing was 25%. For the ear, the size was 30pt, character spacing was 27%. I also switched out the eye and bubbles for some hearts (Design ID 54935). The font used for the name was ED Vintage Valentine Font (Design ID 74433)
For the bunny, I used uppercase letter N to create a blanket stitch. Font size was 20pt and character spacing was 25%.
Use the text to path functionality described in last week's tutorial to curve the stitches around the shapes.
STEP THREE: Convert to Path and Weld
To convert the stitches from text into a regular shape and lock the shape, right click and convert to path, then weld. If your stitch is a little thin, you can use the offset tool to make the stitch bolder.Top tip
I'm a fuss pot and sometimes a 0.01cm offset is too big for me, but this is the smallest increment for the software. To get around this, here's a wee trick I do: scale the shape to double the size, offset by 0.01cm, then scale back again by 50% and voila, you have a 0.005cm offset!
STEP Four: Cut HTV and Apply to Garment
Now we have the stitch border ready, we just complete the project in the same manner as we did in the plain border tutorial. In summary, this is to mirror the pattern, cut and weed the HTV. Then apply to garment. You can align the fabric on the HTV and apply in one step, but I like to apply the fabric for just a couple of seconds and then apply the HTV as there is less moving parts!FINISHED PRODUCT
Here are photos of the finished product. I had such fun making these, I also made lots of others with different stitches and fabric. It was also very effective with glitter HTV. For photos of these extra projects, I've added quite a few of them to my Instagram site.Profile | My Blog | Pinterest | Instagram
DESIGNS USED:
 |
 |
 |
 |
PRODUCTS USED:
 |
 |
 |
 |
 |
 |


A fabulous tutorial on how to use your fabulous FREE font - thanks for the clear instructions - BRILLIANT!
ReplyDeletelooking forward to trying this out Nadine, thank you !
ReplyDelete