

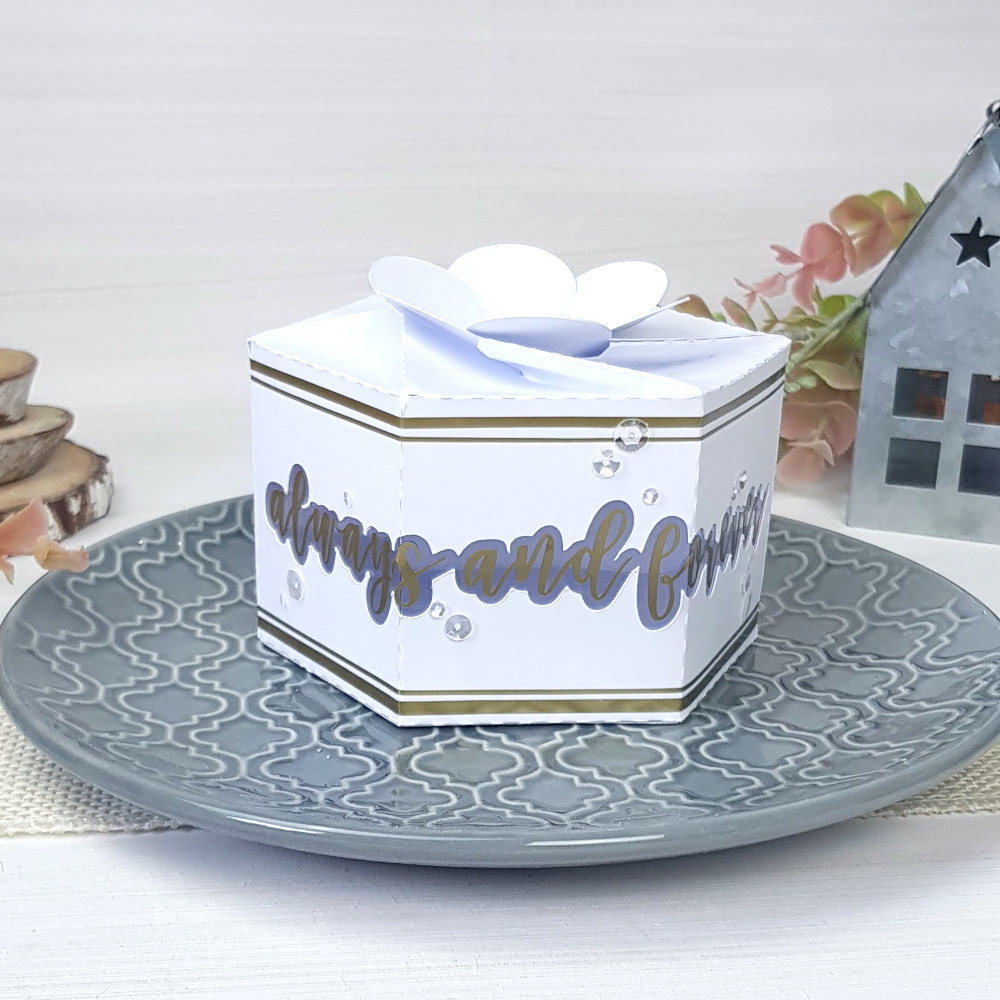
Hello, it's Verity here from Pretty Little Button. I have a lovely wedding favour box where I added a word knockout to the box design to add an acetate window with a floating sentiment. The sentiment was added using gold adhesive vinyl - this makes it so easy to apply and no mess adhesive showing on the inside, win-win! Whatsmore you can easily change the sentiment so you can have a variety dotted throughout your wedding tables.
Wedding favour boxes process:
Start off, load up the Polygon Petal top box into your design space (design ID located at the end of the post). Write the sentiment of your choice and change the font accordingly; I used Nobita Script font.

Using the square handles when the sentiment is selected, drag the design whilst holding control and adjust the size so it is not wider than one of the box panels.

To create the knock out we need to add an offset. With the sentiment selected, open up the offset window. Apply an offset measurement of your choice; I used 0.7 for this offset.

Next position the offset shape over your box panel and centre; make sure it is not positioned on any of the flaps. Group this together with the panel shape and cut out as one piece. You can cut the remaining sentiment out of gold vinyl.

To assemble the box, cut down a strip of acetate large enough to cover the knock out sentiment area. Align this behind the window, and mark with a removable pen, the points at which the box panel folds (dotted cut lines). Using a scoreboard, score along with these points on the acetate sheet and fold to reinforce the score. Apply double sided tape along the inside of the box panel and adhere the window in place.
Before assembling the box, use transfer tape to apply the vinyl sentiment to the window. Make sure you have weed the excess vinyl surrounding your sentiment before applying your transfer tape. To assemble the box, fold all the scored lines (dotted lines) and apply double-sided adhesive to the flaps.
You will find it easy to adhere to the two side panels forms, before applying them to the hexagon base. The top folds in on itself and closes; it does not require adhesive on the top.
Add a few thin strips of matching gold vinyl around the top and bottom for added decoration and finish off with a few clear sequins.
Wedding favour boxes photos:


If this has inspired you to try this out, please post below. I would love to see it!
Until next time,
Verity

Profile | Pretty Little Button Blog | Instagram | Facebook
FONTS USED:
NOBITA SCRIPT FONT by Genesislab design id #240205
DESIGNS USED:
3D POLYGON PETAL TOP BOX by Lori Whitlock, design id #24308
PRODUCTS USED:


What a great idea to cut out the offset then add the sentiment, I'll try and remember this for the next box I make. I Love the effect.
ReplyDeleteFaith
this looks amazing and great instructions too
ReplyDelete