Hello,
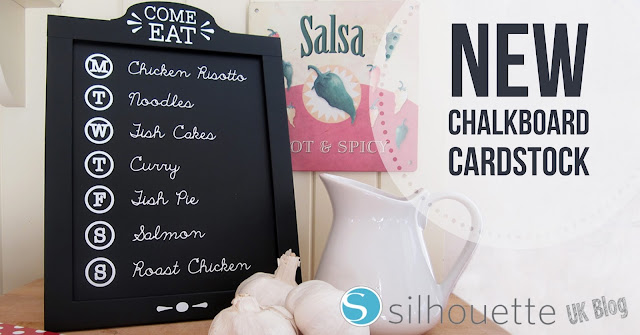
Janet here with a project using a NEW product for the UK, Silhouette Chalkboard Cardstock.
The cardstock surface is similar to that of the Silhouette Chalkboard Vinyl, but slightly smoother. It is of similar thickness to medium-weight cardstock having a peel off backing sheet covering a sticky adhesive surface. I experimented (played) for a while before making my project and found the Silhouette Chalkboard Cardstock had these properties:
- Chalk, chalk pen, white marker, and Silhouette Sketch Pen all wipe off.
- Vinyl adheres well, but also can be removed completely.
- It cuts beautifully, and with experimentation can be partially cut to the backing (like vinyl), or cut all the way through (like regular cardstock).
- The backing is VERY sticky, so no need for extra messy adhesive.
- Pieces can be layered, or used back-to-back, for sturdier projects.
MAKE A CUSTOM FAMILY MENU CHALKBOARD
What You'll Need
Black Picture Frame (**)
Silhouette Chalkboard Cardstock
White Matte Adhesive Vinyl
Clear Transfer Material
White Marker Pen
Silhouette Pen Holder
Downloaded Typewriter Key Font like LW Type Print
Downloaded Sketch Font like Rivka Wilkins' Madilyn Font
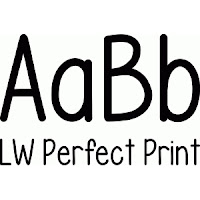
Downloaded Plain Font like LW Perfect Type Font
INSTRUCTIONS
STEP 1: Draw the Frame
Measure and draw your picture frame in Silhouette Studio®. In the diagram the black lines correspond with the frame edges, and the blue line to the glass/picture size. The cardstock sheets are US Letter size so you'll need a frame with picture size the same or slightly smaller.
STEP 2: Make Days of the Week
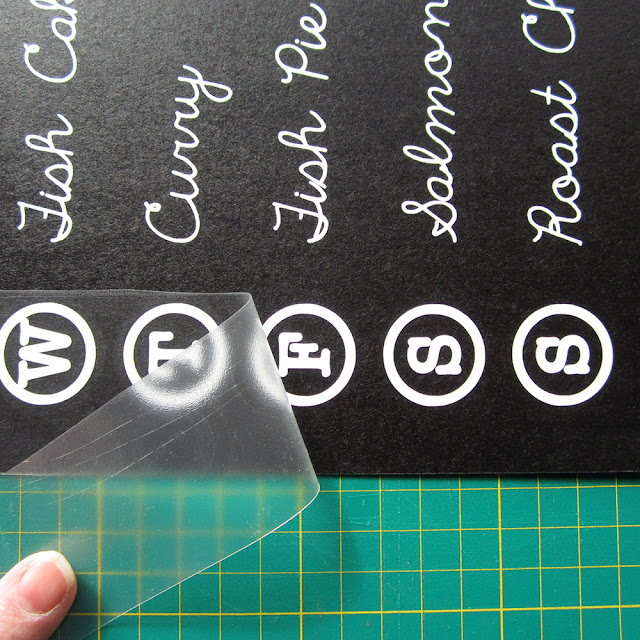
Type M, T, W, etc. in the typewriter key font on one line. Drag the solid bar to the left to make the text into a column. Further help on how to do this can be found in this project Vertical Text Card. Resize the text and space it out using Line Spacing to fit the frame aperture size. Cut these from white vinyl.
STEP 3: Add Menu Items
Use a sketch cursive font to type out your menu items, you can either write in one big block with wide line spacings, or make separate lines of text for each item. If you plan to change the items, it may be better to make separate lines. Once you have text size, character spacing, and position as you want (plus line spacing, if you have one big block) you can write it onto the cardstock with a pen. I used the Silhouette Pen Holder and a favourite white gel pen. Add a cut line to trim your chalkboard cardstock to size.
N.B. If you are tempted to ungroup your words and 'fine tune' individual letter spacing, it is advisable to make a complete copy first and place it off to the side, as you won't be able to edit the words later once the letters are ungrouped.
Draw your menu items, and cut the chalkboard on your Silhouette. Use the Adhesive Cardstock cut settings as a starting point, test cut and adjust accordingly. Then apply the vinyl letters with clear transfer material.
STEP 4: Make a Header
Make a complete frame to fit around your project if it is small, or make just a header if it is bigger. I designed my own curved header shape. You can either design something similar (as in the diagram below) or download the centre piece here.
The downloaded piece (Chalkboard Header File) just needs to be welded on to a rectangle the size of the top of your frame.
STEP 5: Decorate the Header
Make a text decoration for your header to cut in vinyl, or write with a pen. Use a font which complements the days of the week and which will cut or write well.
If you want curved text, curve it around a shape which reflects the shape of your header (see Niki's post here).
Once your design is sorted, draw with a pen and pen holder and then cut, or if using vinyl, cut the vinyl and the cardstock and then apply vinyl.
STEP 6: Assembly and Finishing Touches
To finish, place the large chalkboard piece in the frame leaving the backing layer in place. Replace the glass and backing pieces. Remove the protective backing from the adhesive on your header or frame and press it onto the frame.
(optional) Cut an additional piece of shaped cardstock to match that of the part which stands proud of the frame. Stick it on to the back, so the part that stands proud of the frame is a double thickness, otherwise leave that section with the backing paper on.
(**) Note on the frame: I re-cycled an old certificate frame, originally with a bevelled edge. I covered the rather unpleasant red-brown stain with matte black acrylic paint and also turned it around, having the flat rear frame surface facing front.
I love chalkboard items and using this chalkboard cardstock is an easy way to obtain a very neat and effective look. I hope you'll try it.
Bye for now,
DESIGNS USED:
PRODUCTS USED:
 |
 |
 |
 |


Great tutorial Janet thank you for sharing it and thank you for the files too
ReplyDeleteYou are welcome DJG :) Thank YOU for taking the time to comment.
Delete