

Hello,
Janet here again with a simple post about adding a hanging loop to your own designs or those bought in the Silhouette Design Store. With the addition of a hanging loop, a simple design can be transformed into a gift tag, a present decoration, a tree ornament or even a banner element.
 |
 |
To demonstrate how easy hanging loops are to design and use I have chosen some snowflake files from the Store designed by Lori Whitlock. Her files have always been a good choice for 3D cutting files, and I regularly choose her fonts for reliable cutting and readability. Now I'm finding the individual design elements are great too and they cut really well, even at smaller sizes.
The snowflake decorations here have hanging loops attached and are cut from faux leather. They can be used on a festive key chain, or as an embellishment on a handbag or a zipped bag. These contain an additional smaller snowflake in the centre.

HOW TO MAKE THE HANGING LOOPS
It takes just minutes to design a hanging loop (seconds once you've practiced). Here are the steps in brief (they are expanded at the end of the post. Look for *****):
- Draw a circle
- Copy it on top
- Drag one circle smaller, aligned and proportionate
- Select both
- Make them a compound path
- Check (optional)
- Draw a rounded rectangle (optional)
- Weld to design.
HOW TO JOIN THE HANGING LOOP TO DESIGN
1. Position the loop onto the design where desired.
2. Select all and weld, or ungroup and select the background piece and weld the loop to that.
3. If it won't weld the design piece might not be a compound path, so make it into a path or join breaks in the path (open Edit Points - red dots indicate an incomplete path).

A hanging loop welded to the background of this snowflake design make pretty gift tags.

ADD MORE THAN ONE LOOP
To make a hanging element from shape (for a banner, for example), it might hang better (and shift along the cord less) if it has two hanging loops.

MAKE DIFFERENT SHAPED LOOPS
You can easily make a shape into a slider to decorate a parcel or a card. Sometimes a different shaped loop is better for this. If you are wanting a ribbon slider you just adjust the height of the inside of the loop to be around the width of your ribbon


ADDING A LOOP TO A LETTER
Of course it is straightforward to add a loop to a letter too. In order to weld a loop onto a typed letter just ungroup it and weld the two things together. These can be put to all sorts of uses, I like to use them as re-usable gift tags for family Christmas presents make from faux leather and glitter heat transfer material.


***** HANGING LOOP (STEP-BY-STEP INSTRUCTIONS)
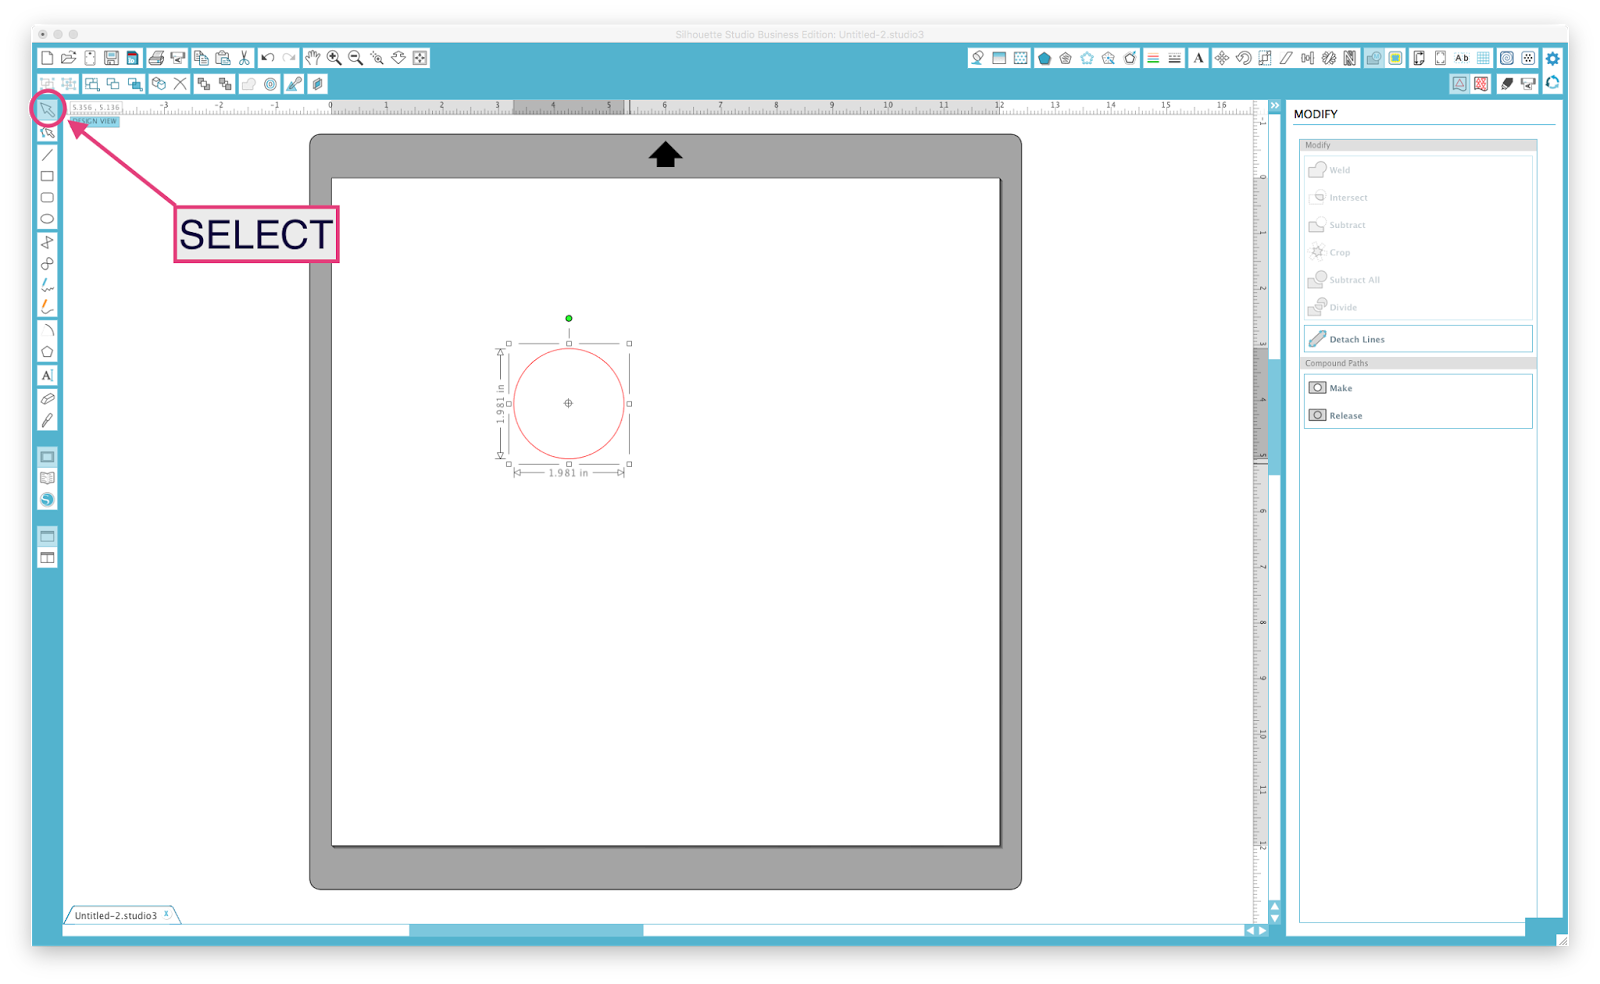
1. Open up the Silhouette Studio software, just the basic version will do. Now you need to draw a circle using the Ellipse Tool. To do that, click on the design area, hold down the Shift button on your keyboard, and click and drag your mouse in a diagonal line. When you have a circle, release both the mouse and the Shift button, but release the mouse FIRST. The size of the circle is not important at this stage.

2. Now make an identical copy of the circle on top of the first. To do this, click on the Select arrow and then click on the circle. This selects the circle. Then select Edit > Copy, and then Edit > Paste in Front, from the top menu. This can also be done using the exact same right click options on your mouse. Although its hard to see, there will be two copies of the circle there.
3. One of the copies is automatically selected. If you deselect by mistake (by clicking away from the circle) click on the circle with the mouse. Move your mouse to the bottom right drag handle (white square), click on it and at the same time hold down Shift, Alt plus Cmd on your Mac keyboard (Shift plus Alt in Windows), then move the drag handle towards the centre of the circle. Release the mouse and drag handle when the smaller circle is about half size.

4. Now, click on Select again and draw a box around the two circles.

5. Now both circles are selected you are going to make them into a single shape (like a polo mint). To do this click on Modify and Select Make, under Compound Paths.

6. You can check that it has worked by filling the shape with a colour (any colour will do, as the colour will disappear with the next step anyway).

7. Now you can either weld this directly onto a shape, or make the hanger a little longer by making a 'neck' for it. To make a neck draw a rounded rectangle of similar width to the circle.

8. Align the two shapes (Object > Align Centre) and then weld the polo and the neck together (Modify > Weld). This new shape can now be overlapped on a design and welded to it.

9. You might even find it useful to save a file to your library containing a collection of loops in different shapes and sizes.


I'm sure you'll find lots more uses for your new hanging loops.
Bye for now,

DESIGNS USED:
|
|
PRODUCTS USED:
 |
 |
 |
 |
 |
 |
Excellent tutorial thank you
ReplyDeleteYou are very welcome. Sometimes it is the simplest things that turn out to be the most useful. 😊
DeleteThanks Janet...never occurred to me to use different shapes like this ...boring tags will be no more! x
Delete