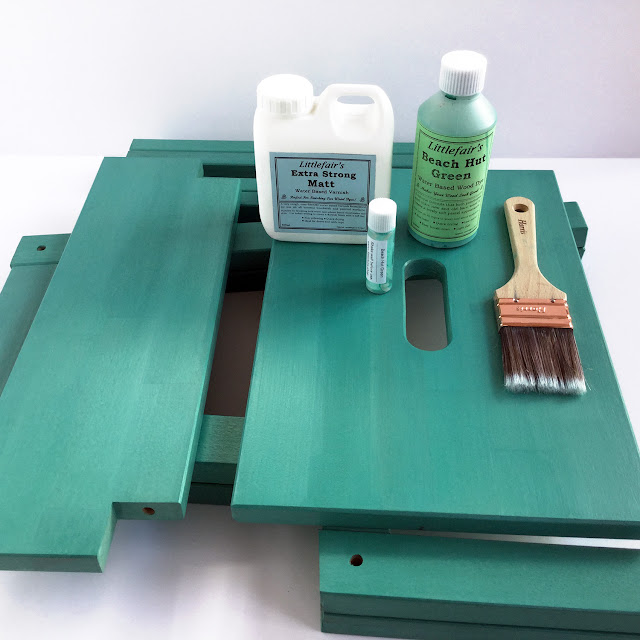
Hello, Janet here with a great home decor idea, a decorative kitchen stool. I've used vinyl to decorate a self-assembly wooden stool that was previously sanded, but otherwise untreated. I firstly applied water-based wood dye and varnish to colour and protect the wood, and then came the fun part ... the decoration.
I knew I wanted to use the Hollyhocks designs by Nic Squirrell from the Silhouette Design Store, but I didn't know whether to use regular permanent vinyl (adhesive sign vinyl), or heat transfer vinyl. I decided to do a little experimentation to see which I liked best. I'll take you through my testing and decision making process.
Materials Used
Silhouette Smooth Heat Transfer Material, Heat Resistant Sheet, and Iron, OR
Silhouette Glossy Permanent Vinyl, Burnishing Tool, and Transfer Tape,
Hook Tool
Silhouette Cameo® 3
(optional) Silhouette Large Cutting Mat (12" x 24")
Flat Pack Wooden Stool (e.g. IKEA Bekvam)
Water-based Wood Dye and Varnish
Preparation
I treated the stool parts with water-based wood dye and water-based varnish. Using water-based products is important, not least because of the lack of strong odours, especially when I applied heat to the heat transfer vinyl. I've included more details about the preparation process over on my Crafting Quine blog, so pop over if you want to learn more about that.
Which type of Vinyl?
I had cream vinyl in both heat transfer and regular adhesive vinyl, and having done a bit of research I considered the pros and cons of using each one.
I'd used both types before, so knew that both would be suitable for cutting and weeding my chosen design. I thought the adhesive vinyl would probably adhere to the surface ok, but didn't know how long it would last or if I could apply it bubble-free. I'd heard that heat transfer adheres well to surfaces treated with acrylic varnish but hadn't tried it for myself. I had an idea that it would probably stand up to wear and tear better than regular vinyl. Lastly, I didn't know which one would look better.
Carrying out a little test was the obvious course of action, so after I'd allowed the surface to dry and harden I tested out the two types of vinyl on the on the underside of the stool top using this little rose design.
Preparing the Design
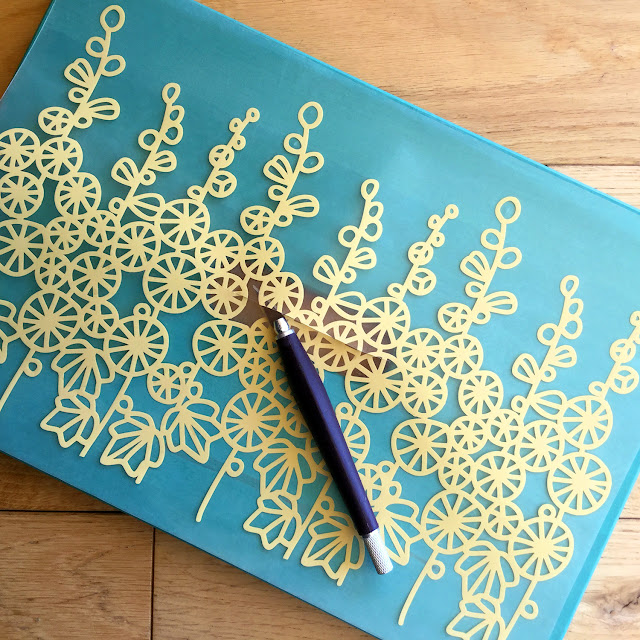
I selected the Hollyhocks Repeating Border by Nic Squirrel, (available in SVG as well as STUDIO format) for the stool top, just increasing the size to fit. For the lower step I used one of the Hollyhocks Papercut Flowers, using the knife tool to cut away a small part of the design.
The two designs were arranged onto the large cutting mat. The rectangle on the left represents the top of the stool, placed there to gauge the scale of the designs. I still prefer to use a mat when cutting vinyl, mainly because I don't want to bother moving the rollers. The default cut settings for 'Heat Transfer - Smooth' cut perfectly, your ideal settings may differ.
Preparing the Heat Transfer Vinyl Decals
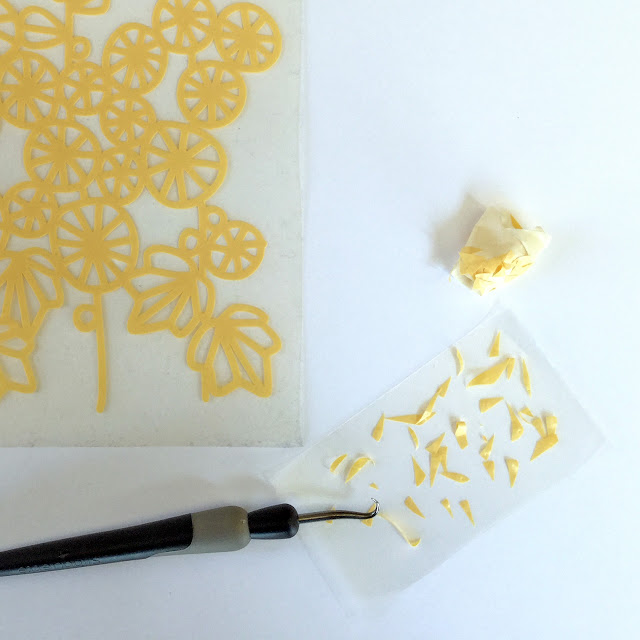
I won't pretend that weeding this design was a quick job, but well worth the time spent. Initially, I removed the unwanted parts from around the outside of the design and then the interior parts, working methodically from one end to the other. I found having a piece of sticky transfer tape to hand was useful for capturing the newly weeded pieces. For other small pieces I wrapped a piece of masking tape, sticky side out, around my index finger, and used it to remove larger pieces that I'd lifted by bending the design.
Adhering the Heat Transfer Vinyl
Rather than cut the shape of the hand hole out of the design on the Silhouette, I chose to cut the design intact, but to make a slit in the design before applying heat. The slit allowed me to trim away the design inside the hole with a craft knife and scissors once the design was adhered. Then I was able to fold the remainder of the design over the bevelled edge and use the tip of the iron to adhere the edges inside the hole.
I used an iron on medium/high setting (steam turned off) and covered the design with a heat resistant sheet, applying pressure to one section to a count of ten before onto the next section. I repeated this three times across the whole design and allowed the piece to cool slightly (WARNING - It gets very HOT, a good reason to use non-solvent based wood products). Then I cautiously peeled back the edge of the backing. Where the design hadn't adhered completely I pressed it again. When it was all stuck I carefully peeled away the backing sheet, then cut away the centre, and ironed the decal edges onto the bevel edge of the hand hole.
When the steps had cooled I assembled the stool.
I was so pleased with how it turned out. It looks great at the end of this kitchen unit and matches my blinds and kitchen clock perfectly. I'm not sure how hardwearing it will be, but I intend to mainly use it as a decorative piece.
Have you decorated wooden items with heat transfer? We'd love to see them. Why not share pics on the Silhouette UK Facebook page?
Bye for now,
DESIGNS USED:

|

|

|
PRODUCTS USED:

|

|

|

|

|


No comments:
Post a Comment