

Hello, Nadine here with a fun kids' print and cut project for Easter. We increased the excitement of a chocolate Easter egg hunt by making custom bunny tags and hiding the clues behind scratch-off media. We also made special easter boxes using the Silhouette Cameo for the eggs.
What you’ll need:
- Silhouette CAMEO
- Silhouette Scratch-Off Sticker Sheets
- Card
- Ribbon or twine
- Chocolate eggs
STEP ONE: Resize Shape and Add a Hole for the Ribbon
Start by selecting the top bunny from Lori Whitlock's 3 Easter Bunnies file. Resize to 8cm tall (with locked aspect ratio) and add a circle in the bunny's ear for the twine. In the Modify window, make a compound path - this will show the circle as a hole.
STEP TWO: Fill with Pattern
Fill the bunny with a pattern of your choice. By clicking Advanced Options, extra settings such as the option to scale the pattern and pan or move it around become available.Top tip - Did you know that Silhouette Studio has an awesome feature that allows any digital paper that you own to be used as a fill pattern? Simply drag and drop the files into the My Patterns folder on the My Library window on the left and they will automatically appear in the Fill Pattern window for all future projects.

STEP THREE: Create Egg Shape
Create an oval 2.6cm wide and 3.6cm tall. Use point editing to make the oval into an egg shape - drag the top node upwards and push the handles inwards to create a more pinched top.
STEP FOUR: Cut Scratch-Off Stickers
I used the default blade settings pre-set for scratch-off stickers and the cuts were great, but always do a test cut when using new media.
STEP FOUR: Add Egg Shape to the Bunny's Tummy
The pattern on the bunny makes reading the clues difficult. To overcome this, colour fill the egg shape white and set the line colour to transparent. Rotate by 32 degrees and position on the bunny's tummy.Top tip - I made the egg shape slightly smaller by applying a 0.1cm internal offset. This makes applying the stickers is easier and less likely to have white edges if not perfectly positioned.

STEP FIVE: Optional - Type Clues
The clues can be handwritten or typed. I used the Lori Whitlock's LW Spring font, size 14 with centre alignment.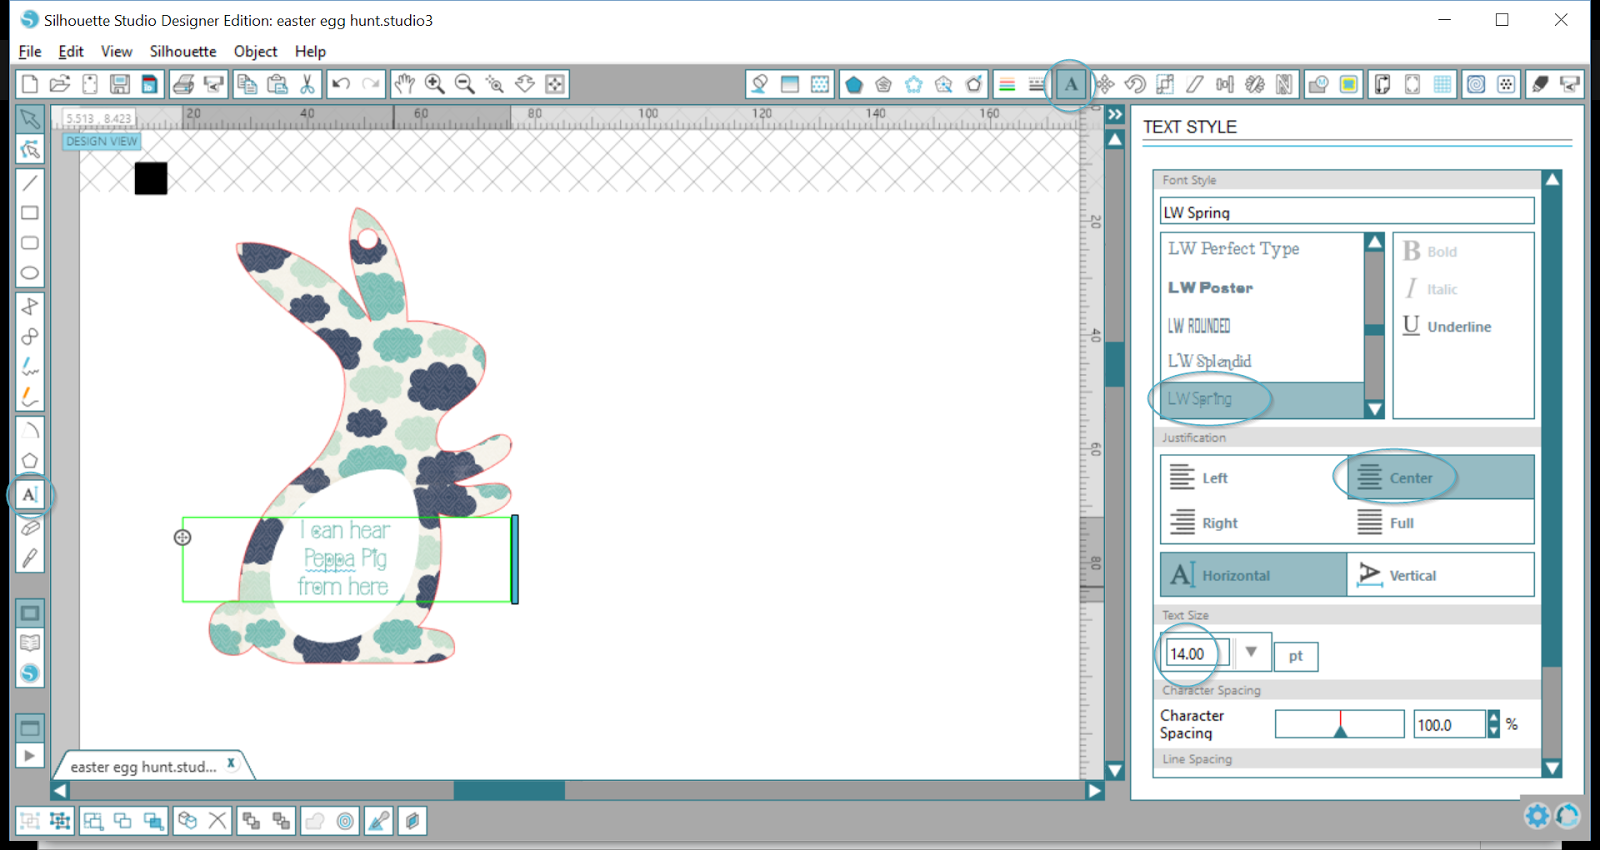
STEP SIX: Cut Settings
Only the bunny shape and the hole in the ear for the ribbon should be cut. Select the white tummy and wording and select 'No Cut' from the Cut Setting menu.
STEP SEVEN: Registration Marks
As this is a print and cut project, the Silhoutte Cameo needs some registration marks to make sure it is cutting in the exact position.
STEP EIGHT: Print and Cut
I'm always amazed at just how accurate Silhouette can print and cut! Good lighting ensures a successful registration.
STEP NINE: Apply stickers
When you apply the stickers, the clue will be covered, so it's worth only applying the sticker as you hide each one. If this isn't feasible, you can write on the back of the bunny where it should be placed. Remember that the clue relates to the next place to go to, so it's a little like the Two Ronnies sketch Answering the Question Before Last!
STEP TEN: Let the hunt begin!
Depending on age, you may need to help with scratching and/or reading the clues.


DESIGNS USED:
 |
 |
PRODUCTS USED:
 |
 |
 |
 |
love this idea, looks great fun! C x
ReplyDeleteThis is so cute!
ReplyDeleteLittle Jamie loved it so much, he played it 5 times more!
Delete