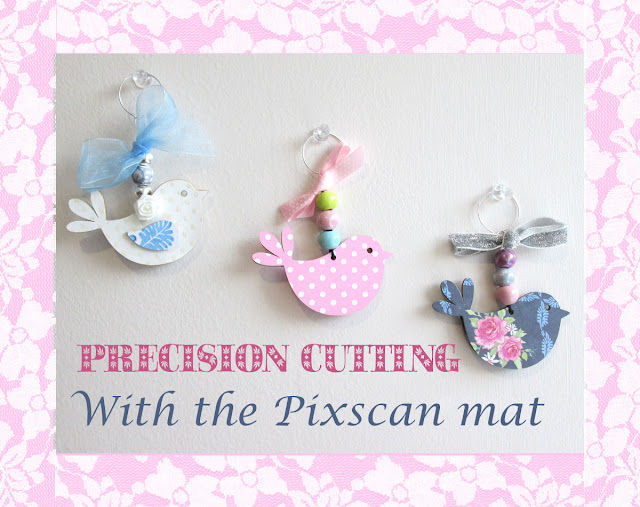
There are wonderful mdf wooden shapes available to buy from many outlets. I have a few shapes in my workshop and wanted to cover them with paper for tags and embellishments. It is quite easy to scan and trace the shapes to get your Silhouette to cut out their shapes accurately from complete A4 sheets of patterned paper, but I have masses of scraps of lovely paper and I wanted to use up some of them, so this is where Picscan mats come into their own. As a Design team, we haven't done many tutorials to encourage you to use these mats, so I thought another quick one was due!
There are many You Tube videos and articles about how to calibrate your mat, and it is a whole tutorial in itself, so I am going to assume you have already calibrated your Picscan mat with your camera. If not, see this article. It is possible to take photos of the mat with a good quality phone camera, but I personally use a Canon Powershot A3500 with WiFi capabilities.
EQUIPMENT:
Silhouette Cameo and colour printer
MDF shapes
Scraps of coloured paper
Adhesive
Other embellishments if wanted
STEPS:
1. Scanning and tracing the shapes
Place one of each shape on your scanner. Scan the pieces. If you don't get enough contrast between the mdf and the white top of your scanner, pop a dark coloured bit of paper on top of the mdf before scanning. Save the resulting pdf to your desktop.Within the Silhouette software, merge the PDF file to see it in the design area. Untick High Pass Filter and Set Threshold levels until the mdf is all yellow, with clean edges. For me this was about 50%. Trace. Delete the original scanned image. You should now have the shapes of all your mdf pieces and they will match the size of those pieces beautifully.
2. Importing the photograph of the Pixscan mat
Arrange your scrap pieces of patterned card stock on the Pixscan mat (see below). Take a photo in good light, with no shadows and as straight above it as you can. Save it to your desktop. Click on the Picscan icon (third right from top menu, left hand side) and open the photo from your desktop.Be patient as Silhouette will take a little time to process the image and then the photo will appear in the design area, on the Picscan mat. If you get an error message such as "Resolution poor" you may need to take another photo, and adjust your camera or lighting set up. If all goes well, you should now have the photo of the Pixscan mat within your design space as shown here. Notice how I took the photo of the mat against a dark background to ensure good contrast of the mat edges..
Once you are happy, feed the Picscan mat into your Cameo. Check the cut settings on your computer and the actual blade depth on your Cameo. Send to cut. Remove the mat from the machine and take off all the cut pieces you need.
Glue the pieces onto your mdf shapes and decorate as you wish. These can be used on cards, scrapbook layouts, gift tags, home decorations, keyrings etc.. Glossy accents can be used to give a domed top. If you have some sentiment stamps you haven't used for a while, this is a good time to dust them off, ink and emboss the messages and then cut beautifully around them with your Silhouette. I hope this has helped to demonstrate the usefulness of the Pixscan mat for precision cutting from patterned paper scraps. It can be a little challenging to set it up at first, but once you get the hang of it, it is a very useful tool to have on your shelf.
PRODUCTS USED:
 |  |


Very useful tutorial Hilary. Thank you for explaining the process so clearly.
ReplyDelete