

Hi everyone. It's Verity here from Pretty Little Button bringing you another project. The project today using the Double-sided Adhesive sheets from Silhouette. I have used other adhesive sheets in projects before, but found they didn't cut so well, so it was interesting to see how these faired. I have to say that I learnt a few things with it. The more intricate your design is the poor the cut will be. This is because as your blade cuts the adhesive, it could pick up a small cut pieces which will then stick to the blade. As it sticks to your blade, it will then impair the rest of the cut. So solid, less intricate designs are better. Having said that, I did manage to reasonably cut the floral design on the second card with a little help from my craft knife afterwards in a few small areas.
Creating foiled elements for your cards - Double-sided adhesive sheets detail:
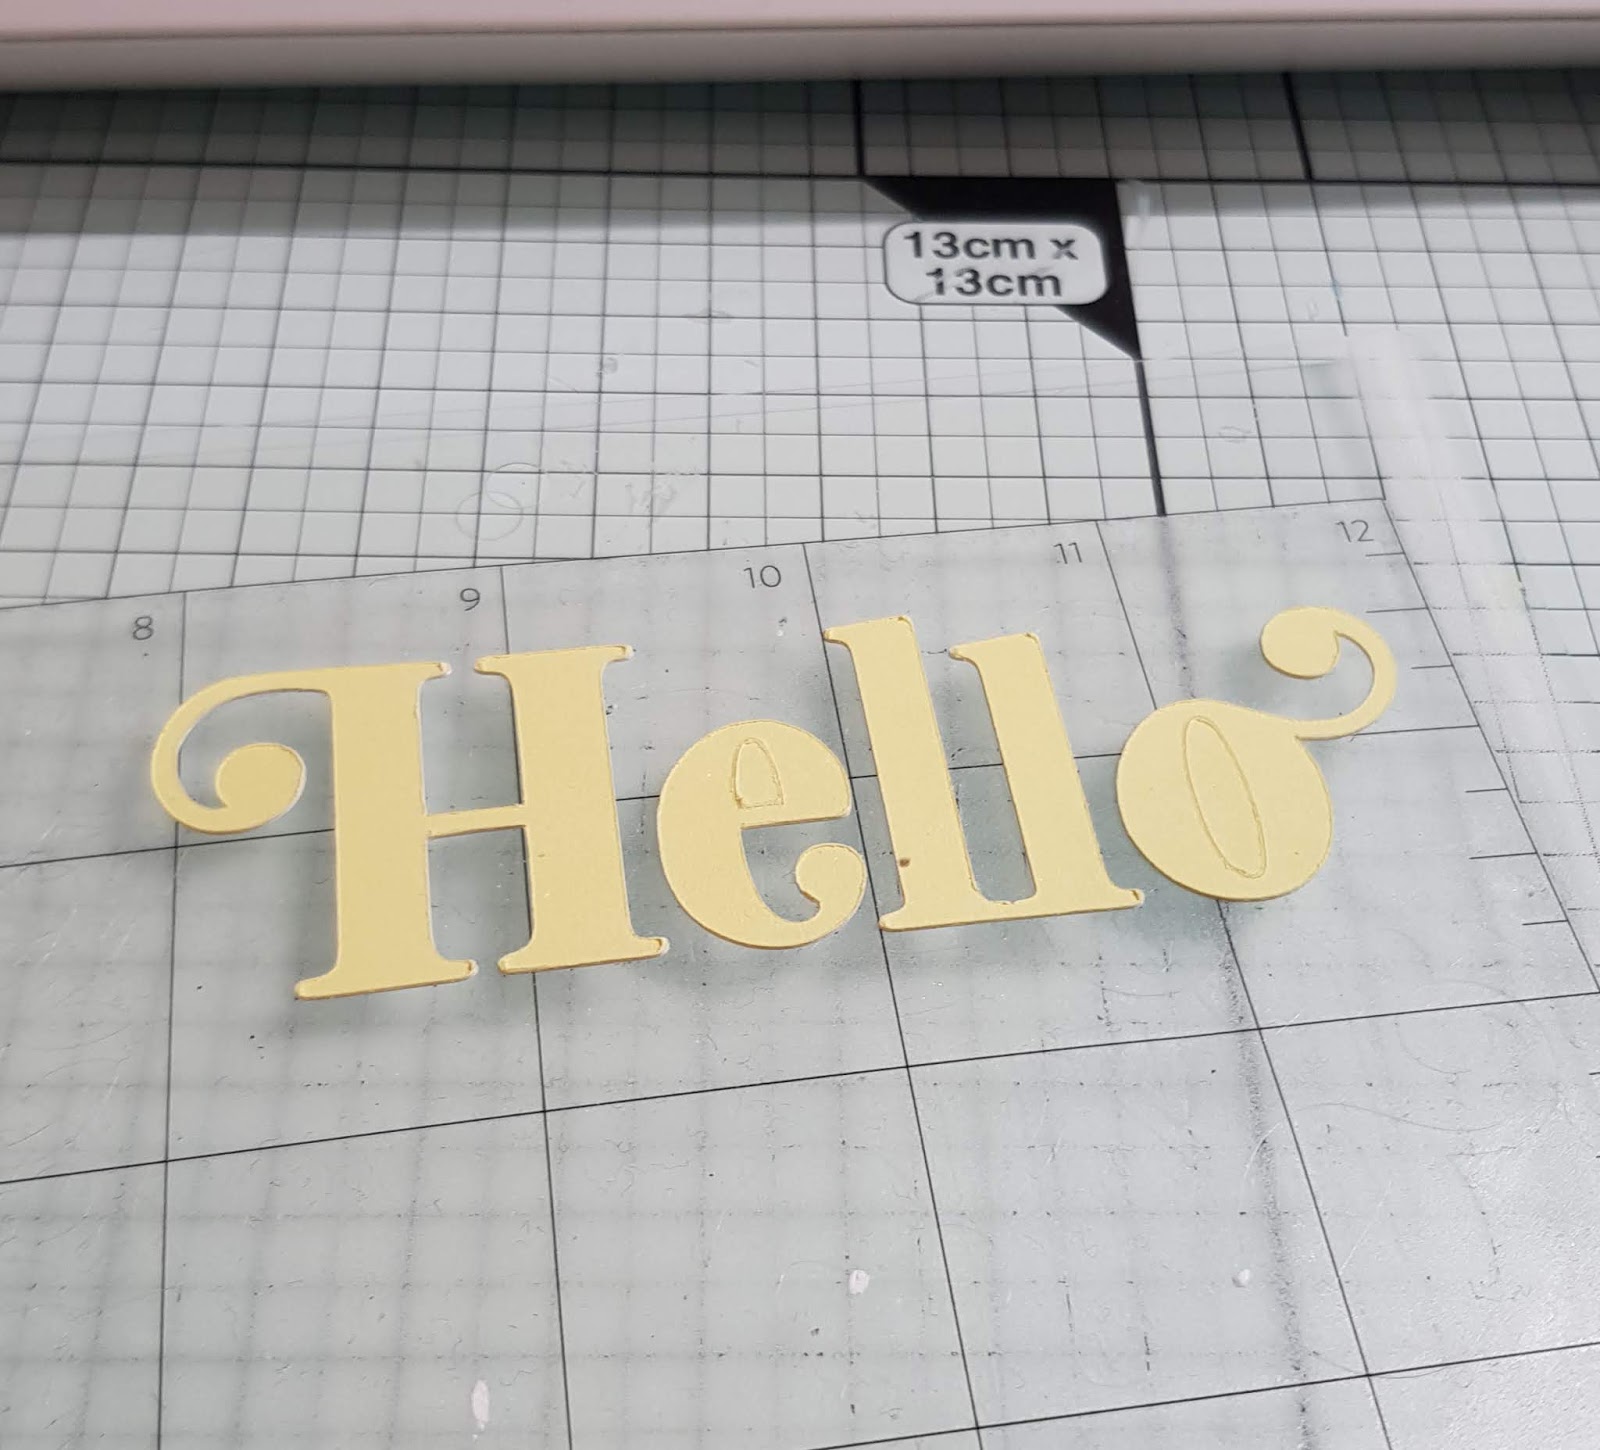
To start, place your design in your design space in Silhouette Studio. The first design I used 'Oh Hello' by Sophie Gallo. This design has quite a lot of plain shape/area to cut at isn't too intricate. I found that the cut settings on the machine worked fairly well, but I set it to pass 3 times. I wanted it to cut all the way through the backing sheet to make it easier to get the design of the mat before peeling and exposing the adhesive sheet.
There is a chance that I could have had my sheet facing the wrong side up, but as I didn't want the backing to come off either side until I had it off the mat it didn't matter as both sides once peeled are adhesive
There is a chance that I could have had my sheet facing the wrong side up, but as I didn't want the backing to come off either side until I had it off the mat it didn't matter as both sides once peeled are adhesive
Once I have removed the cut design from the mat, I peeled the backing off and positioned the design down onto my card. Then I removed the front release sheet to expose the adhesive. I place a piece of decofoil over the top, the colour side facing upwards. Using my finger I burnished the foil into the adhesive and peeled the sheet away to reveal the foil left on top of the adhesive.
To assembled the card, I added a stamped sentiment and some white Nuvo drops.

The design on the card below was a little more intricate - I did get a fairly good overall cut however, there were a few areas where I had to just go over with my craft knife to release the areas.

I hope this has shown you that you don't need a laminator or laser printer to add foiled elements to your papercrafts!
If this has inspired you to try this out, please post below. I would love to see it!
Until next time,
Verity

Profile | Pretty Little Button Blog | Instagram | Facebook
Oh hello by Sophie Gallo, Design ID #264524
Magnolia branch by Nic Squirrell - Design ID #190669
PRODUCTS USED:


No comments:
Post a Comment