

What you will need:
- White Card
- Gold Gel Pen
- Printable Gold Foil
- Silhouette Pen Holders
- Silhouette Cameo.
Step One - Preparing the drawn part of the design.
- This was a very easy process. I chose a dream catcher design from the Silhouette Design Store and placed it in the centre of my page and resized it to 11 ins tall.

- As I didn't want the section that looks like a piece of leather hanging down from the circle, under the MODIFY menu I chose RELEASE, deleated the pieces I didn't want, selected all the pieces again and under the MODIFY menu chose MAKE.

- With my design selected, under the REPLICATE menu I used the DUPLICATE LEFT and DUPLICATE RIGHT options to make three dream catchers. The ones on either side of the centre I resized to 7ins tall and arranged on my page.
- As I wanted a border around my page I drew a 11.5in box and another 11.3ins and centred them on my page.

- The final part of this step is to put the gel pen into the appropriate sized pen holder, replace your blade with the pen holder, choose the appropriate settings and send it to the Silhouette, this will draw your design rather than cut it.
Step Two - Printing the foil.
- Open the file 'May All Your Dreams Come True' , in a letter sized page, and under the line style window change the line thickness to 5. Resize the design to 5.5 ins high.

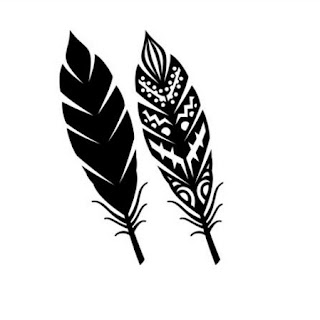
- Open the feather design and ungroup. Delete the plain feather and fill the patterned one with black.

- Change the lines to 'NO CUT' under the the CUT SETTINGS Menu and resize to 3.5 ins high. Use the OFFSET option under the OBJECTS menu to add a border, making sure the offset line is set to cut in the CUT SETTINGS. Add registration marks to the page and add another five feathers and your title.

- To print this successfully onto my gold foil I added white stickers to the areas where the registration marks were going to print before printing.
- Print and then cut your designs and add to your layout.
I can't wait to use the foil again as it cut so beautifully and was such an effective addition to my scrapbook page.


PRODUCTS USED:
 |
 |
 |
What a beautiful layout Karen - the printable gold foil is very effective.
ReplyDelete